Sketching_Brushes_Small_CTA_Text.png

How to Draw a Digital Portrait Like a Pro: Sketching Tutorial

Ever spend hours figuring out how to draw a digital portrait, only to zoom out and realize something’s just “off”?

You’ve spent so long sketching, merging layers, and painstakingly adding in the details… only to discover that your portrait doesn’t resemble your reference — or even a person at all!

Even worse, it’s impossible to fix without losing hours of progress.

But all of this is avoidable.

How? By getting your sketch right!

In this tutorial, I show you my personal process to draw a digital portrait like a pro.

Here’s what you’ll discover:

  • How to build the perfect base layer to begin building your masterpiece, and avoid wasting hours on a portrait you won’t be satisfied with
  • The 3 classic sketching methods developed by world-class artists, and my own “Observation Measurement” method that blends all three… with a twist!
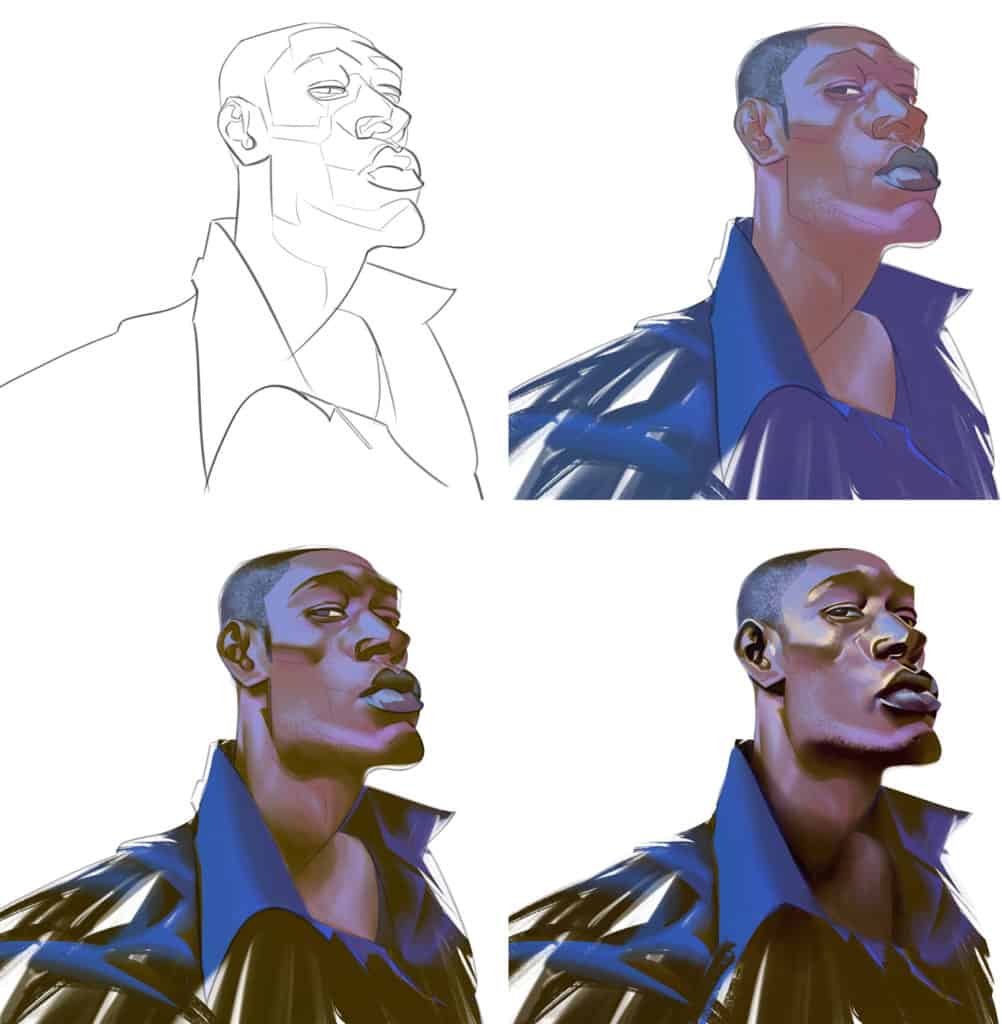
  • How to use a second sketch to nail all the details and bring your digital painting to life before you even start adding color
  • Why proportions are crucial even if you’re going for a “cute”, exaggerated, or stylized look

👉 For more tips on sketching, check out my video that walks you through 5 super-easy tips to level-up your drawings… even if you’re a beginner!

our best sketching Brushes + Free Tutorial

Free Download:

Craftsmanship at its finest!

The post How to Draw a Digital Portrait Like a Pro: Sketching Tutorial appeared first on Paintable.

teresa_oman_3-2-497x1024.jpg

21 Vibrant Digital Paintings of Ibrahem Swaid

Colorful, saturated, fresh… these words describe the artistic style of talented Syrian game designer and digital illustrator Ibrahem Swaid.

You may recognize him all over the internet as Noobovich. 🤩

When he’s not creating extraordinary characters, Ibrahem teaches up-and-coming digital artists how to create portraits and narrative illustrations from sketch to final. (Peruse his tutorials on Artstation and Gumroad.) 

Take a peek into his story so far as a successful freelance illustrator and concept artist:

“I started digital art during high school, then joined a college of fine arts. While I wanted to keep doing comics and character designs, my instructors pushed me to move towards modern art. So I did experimental work for two years, and I kept learning digital painting from online classes.

I took a full time job for a month, then moved to freelancing. I started working as a UI designer for interactive TV games, slowly building my illustration portfolio. With some luck, I got one of my Diablo 3 fan art pieces picked up by Blizzard and posted on their front page! That got my career kicked off, doing illustrations for games.”
Have a browse through this selection of the best artwork from Ibrahem Swaid below… then follow him on Instagram, learn from him with one of his tutorials or Twitch streams, and show him your support on Artstation!

See more of Ibrahem on the web:

10 ‘MUST HAVE’ BRUSHES FOR PAINTING

Free Download:

Designed to Paint Incredible Portrait Details!

The post 21 Vibrant Digital Paintings of Ibrahem Swaid appeared first on Paintable.

cropped-Favicon-512-32x32.png

Painting Crystals And Gems – Digital Painting Walkthrough

“How do I get a translucent look when painting crystals and gems?”

Taking on the challenge of painting shiny, semi-transparent objects like crystals and gems, amber and sea glass is not for the faint of heart! 

Understanding how to get a realistic see-through lighting effect on objects can give your digital painting skills and entirely new dimension.

In this video, I’ll show you how I approach painting 2 glowing, faceted crystals that bounce reflected light off of each other. 

You’ll see some of the essential tools and techniques I use in my daily art processes, such as the pen tool, group masks, blur effects and more…

Tips to help you paint unique crystals:

  • Study the lighting on similar objects from a reference board
  • Draw multiple sketches to find a good design
  • Keep in mind the direction of the light source when painting the cuts (facets) on the crystal
  • Use texture brushes to add grains to the crystals and gems
  • Add small imperfections for a more realistic look

👉 If you need a more in-depth tutorial on lighting and shadows in general, check out this video on painting from imagination

Want to participate in free, fun digital art challenges like this one? 

Join me and thousands of other digital artists like you on the Paintable Discord server

New Challenges are happening all the time. See the “Challenges” section on the server, and jump right in!

Want the same set of brushes that I use in all of my paintings? You can download them here for free. 👇 

You’ll also get on the list to hear when I release my latest video tutorials and walkthroughs!

10 ‘MUST HAVE’ BRUSHES FOR PAINTING

Free Download:

Designed to Paint Incredible Portrait Details!

The post Painting Crystals And Gems – Digital Painting Walkthrough appeared first on Paintable.

Mari-Arcos-768x1024.jpg

Spectacular Finished Projects from the Illustration From Imagination Fall 2020 Class

Congrats to the IFI Class of Fall 2020! 🎉

Our current round of Illustration From Imagination is coming to a close, and I couldn’t be prouder of the progress of each of our nearly 200 students! 

To the IFI members:  Congratulations on pushing the limits of your comfort zone, doing the work to up-level your digital painting skillset, and taking a major step towards a career that you’re truly passionate about.

This post celebrates how far we’ve all come since September. 🙌  But we’re not done with our learning journey (we never are!) – keep practicing on the new skills you want to learn next, so you don’t lose the momentum you’ve earned.

Keep going and keep growing!
-David


If you’re not familiar with Illustration From Imagination, it’s a 6-week masterclass focused on up-leveling your ability to illustrate the stories in your head, become a world-class artist, and teach you how to begin making an income from your artwork by simulating a client project.  

That fictional client’s project is to create a dramatic movie poster for their newest blockbuster film!  Students have complete creative control over the brief, genre, characters, style, and more.

We all move through each week together, with new lessons, assignments and feedback for every module of the program.

This round, we introduced 3 new client brief options- and the finished portfolio pieces turn out even better than I imagined!

Have a look below at a sample of the incredible final masterpieces from the graduates of IFI Fall 2020.  

👉Check out the full set of uploaded final masterpieces here.

The post Spectacular Finished Projects from the Illustration From Imagination Fall 2020 Class appeared first on Paintable.

289_2-1024x782.jpg

The Beautifully Diverse Art and Journey of Sammy Khalid

Art is a voyage of self-discovery…

Sammy Khalid, also known around the web as @chigg, is half-Sundanese half-Filipino digital artist from Ireland.

Throughout his career he worked on amazing projects like Black Mirror, Artemis Fowl and League of Legends, with clients such as Disney, Netflix and HBO.

Take a look at a selection of his best paintings and find out what it took for him to go from a kid drawing characters on all of his school notebooks to becoming a professional illustrator…

The Paintable team had the good fortune to be able to ask Sammy about his artistic journey so far- here are some highlights we wanted to share with you!

All my notebooks from school were covered in random sketches…

Sammy Khalid: My art journey has been quite unconventional. A lot of the time I had no idea what I was doing so blind luck is a big factor in where I am today. I’ve always loved drawing ever since I could hold a pencil. All my notebooks from school were covered in random sketches of monsters and characters from my favourite films and games. I found it impossible to study for tests but I could focus my concentration on an 8-hour drawing without a break. This strange ability got me the attention of peers and teachers alike and the reputation of being “the best artist around”…

I learned the hard way that talent will only get you so far…

Naturally, I took this title to heart and with ego inflated, I carried it with me into adulthood and into art college where I studied animation. There I learned the hard way that talent will only get you so far. It’s hard work that separates a professional from amateur artists.

I learned about drawing fundamentals, how to research, the film making process and working within a team. It was around this time that I realised I wanted to be a concept artist. It was when I graduated that it dawned on me that in order to get into the entertainment industry, my work needed to be as good or better than the current professionals that I admired. This is when I started to take painting seriously…

I re-invested my earnings into mentorships

I put a hold on my social life and made an 8-hour daily painting schedule to simulate working in a studio. Luckily, I had been living with my parents who were supportive and I didn’t need to pay rent, this gave me time to really focus on getting good. 

At this point I had already started making money through freelance storyboard gigs and editorial illustrations which covered my cost of living. I then re-invested my earnings into mentorships in environment design, matte painting and character design from some of my favourite artists. They helped me build a professional portfolio that got me into the film industry working in a VFX house as a concept artist/ matte painter…

I am grateful every day for the chance to do what I love…

Since then, I’ve been working full time as a Concept Artist/ Illustrator. I have got to work on great projects such as Black Mirror, Artemis Fowl and League of Legends for dream clients such as Disney, Netflix and HBO.

This job has given me amazing flexibility to work from anywhere in the world and I am grateful every day for the chance to do what I love.

See more of Sammy Khalid on the web:

10 ‘MUST HAVE’ BRUSHES FOR PAINTING

Free Download:

Designed to Paint Incredible Portrait Details!

The post The Beautifully Diverse Art and Journey of Sammy Khalid appeared first on Paintable.

Verena-Biskup.jpg

Stunning Student Masterpieces – Illustration From Imagination Class of June 2020

Over the past 7 weeks, our Illustration From Imagination students have worked so hard to push themselves out of their comfort zones and challenge their creative limits. 💪

For many of our students, it’s been a challenging ride, but that makes it so much more rewarding! They’ve massively leveled up their painting skills and learned practical skills like thumbnailing before starting a project and getting the composition just right, but they’ve also made some crucial mindset shifts to get past the fears of “not being good enough” and the resistance that sets in when they don’t know where to start. 😱

These are vital skills for all successful professional painters, and that’s why Illustration From Imagination immediately puts our graduates at an advantage when it comes to pursuing a career doing something they truly love and look forward to every single day.

A huge congratulations is in order! 🥳🥳

Every lesson in Illustration From Imagination is geared toward one final goal: to follow a brief set by a fictional client (Paintable Productions! 🖌
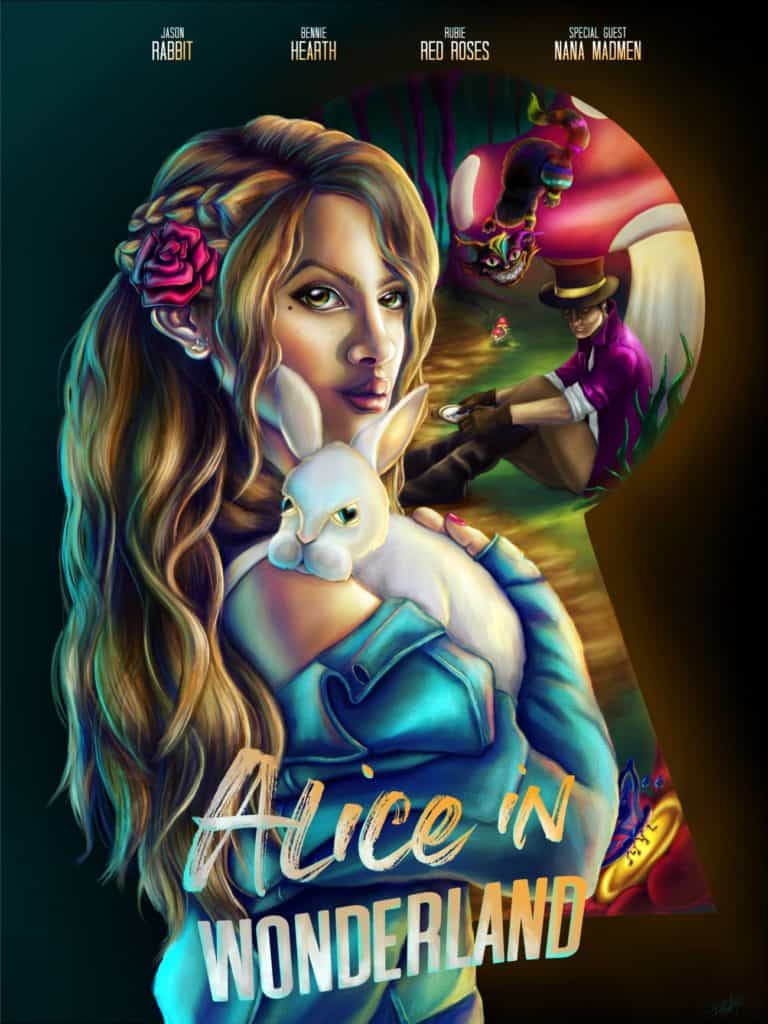
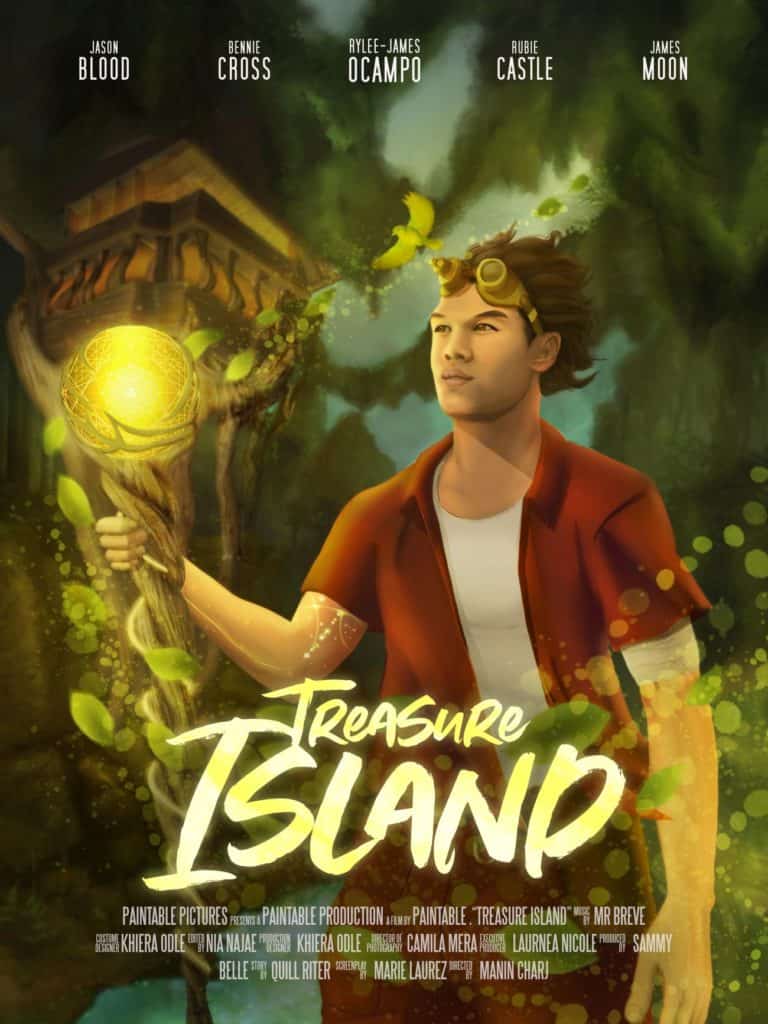
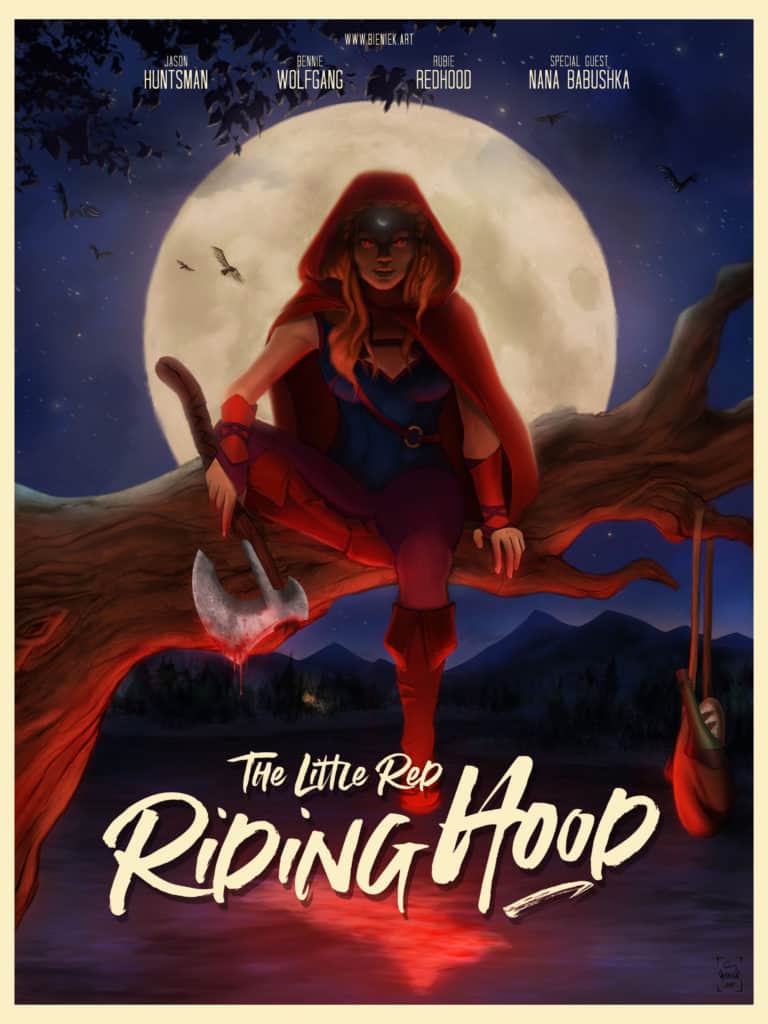
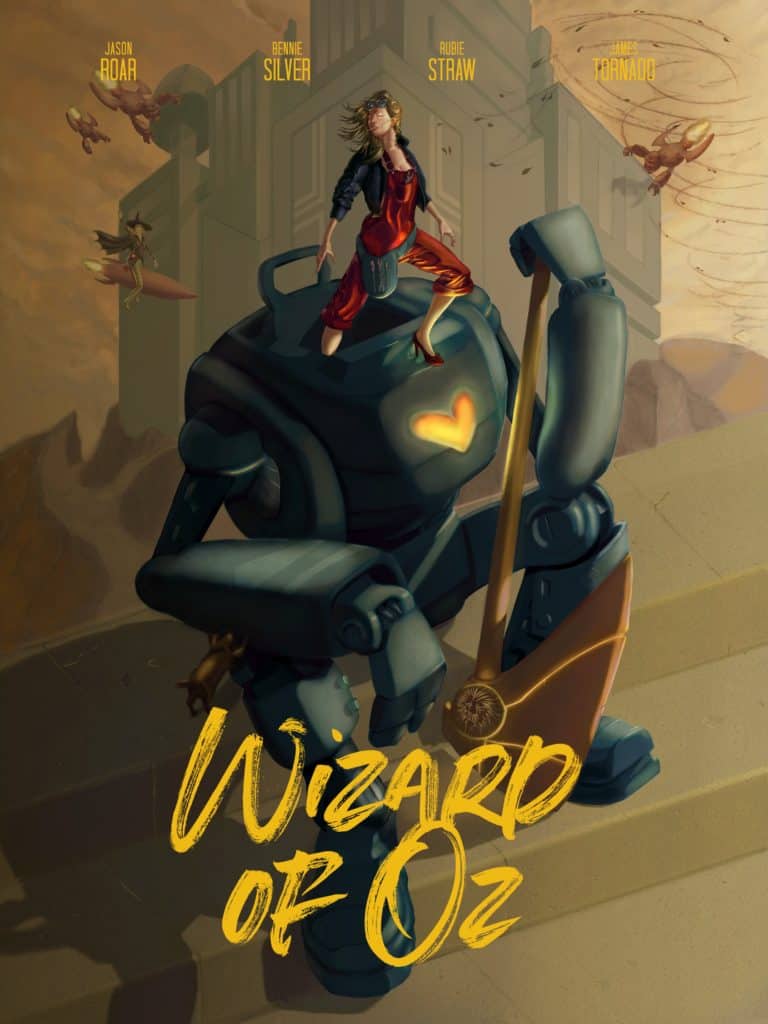
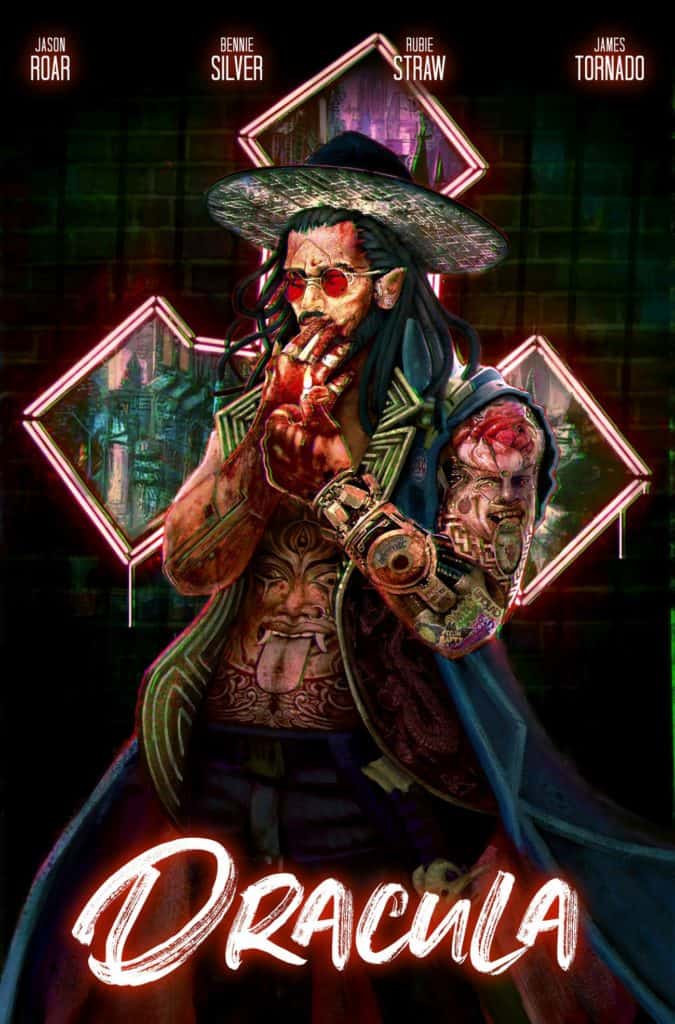
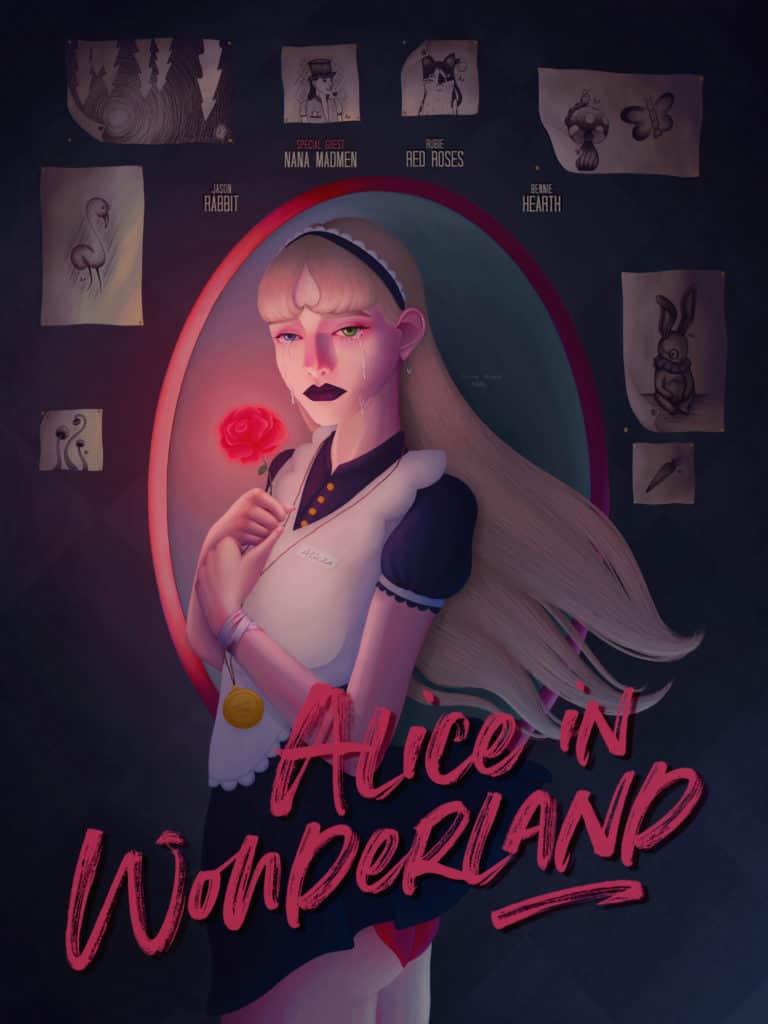
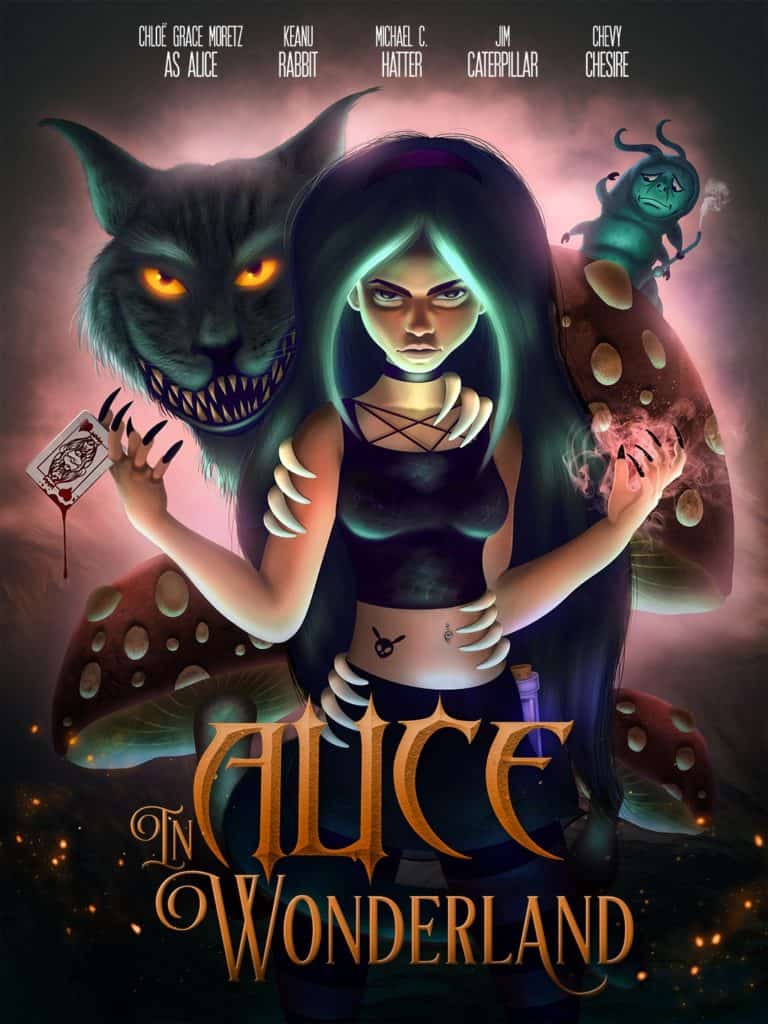
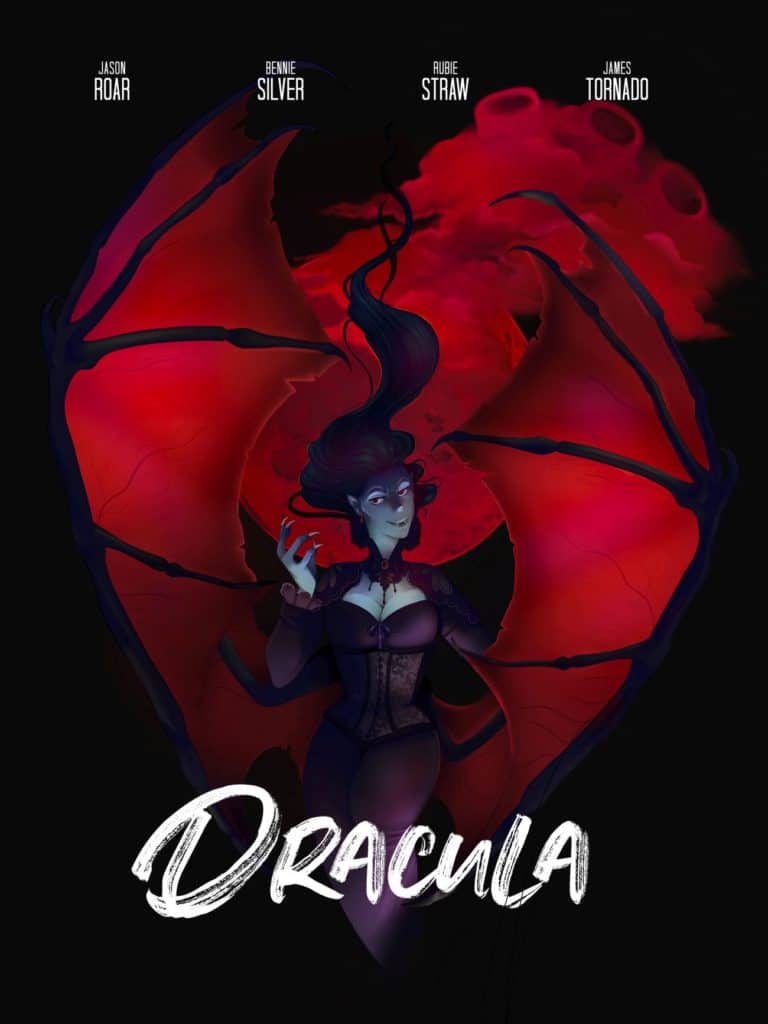
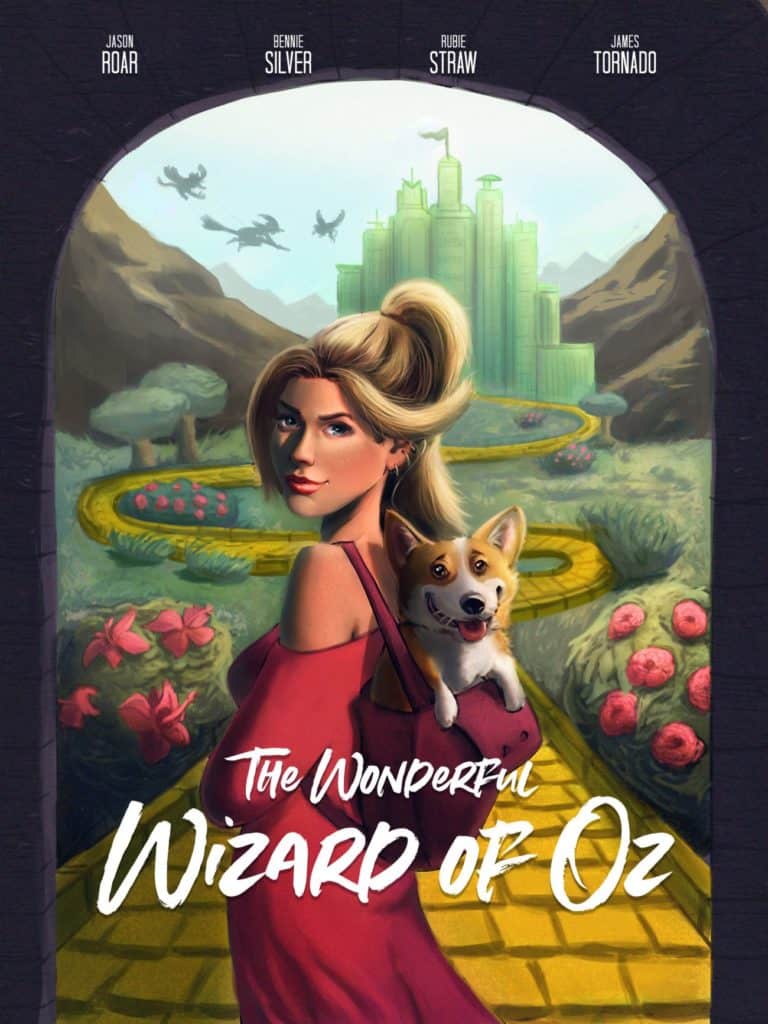
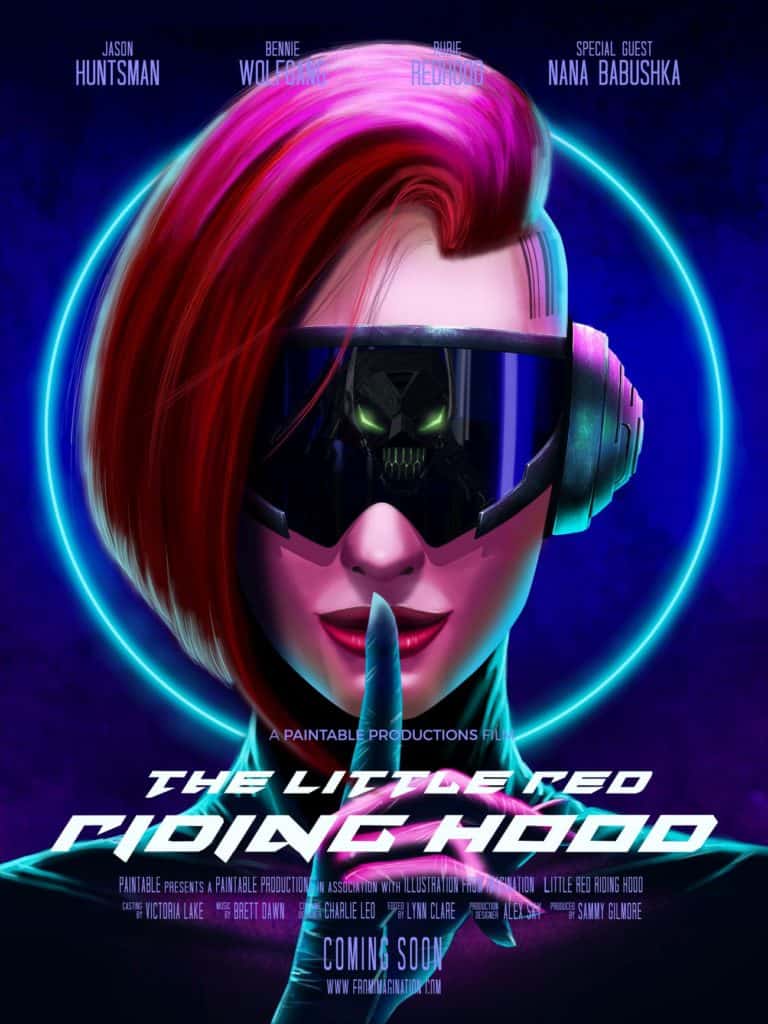
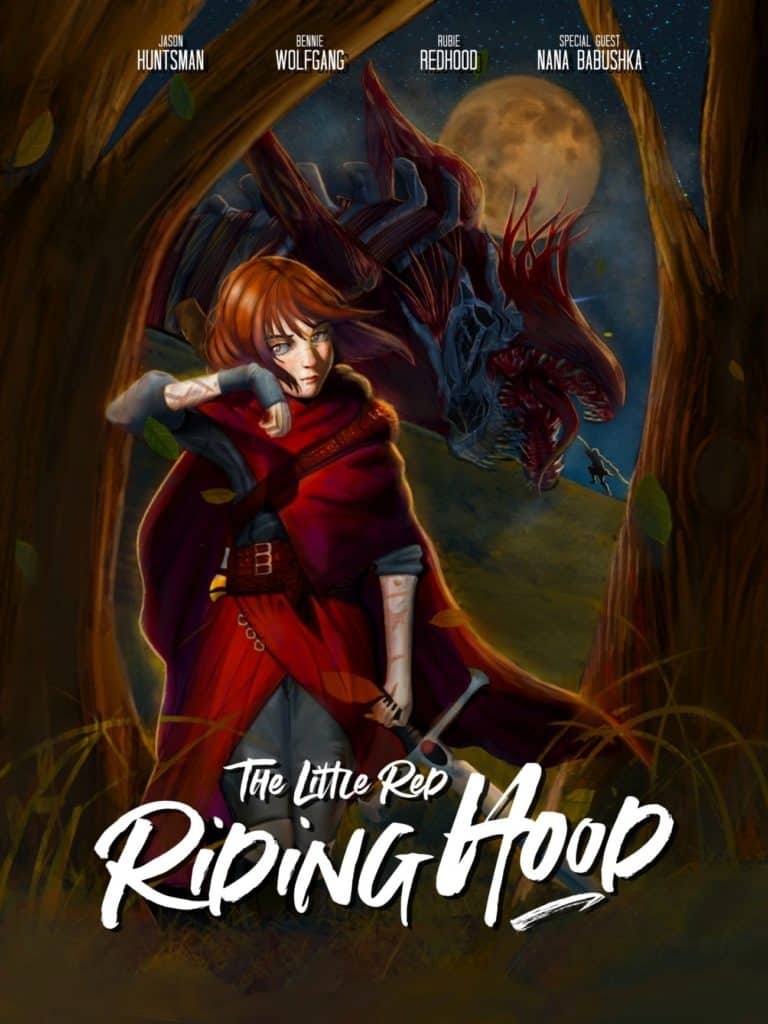
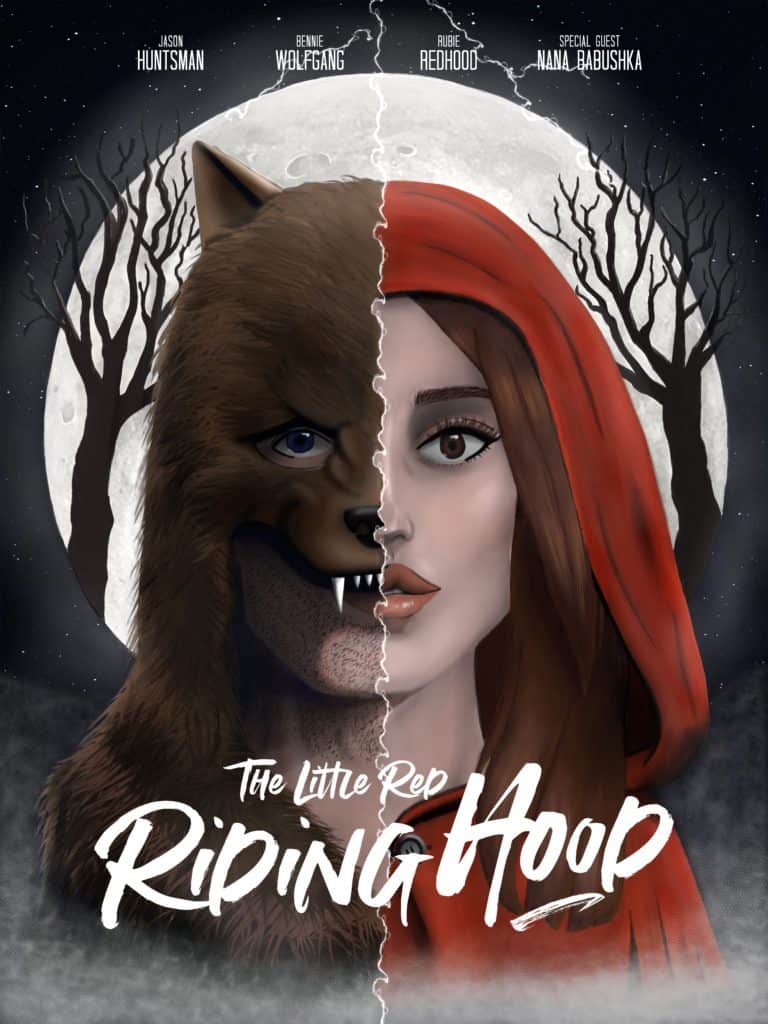
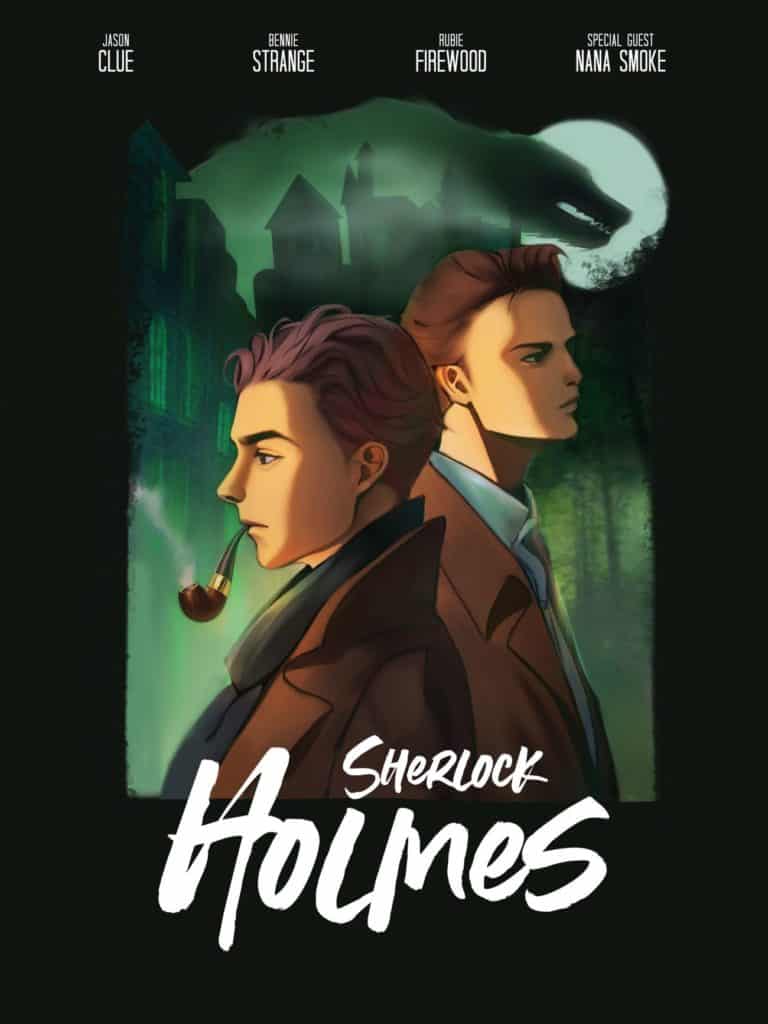
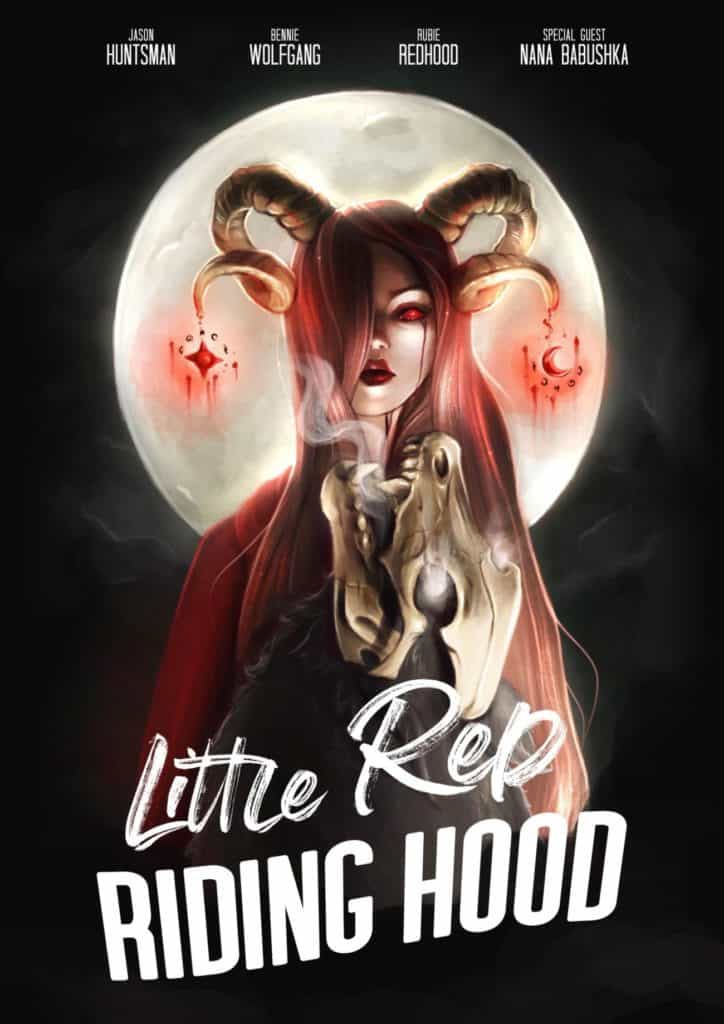
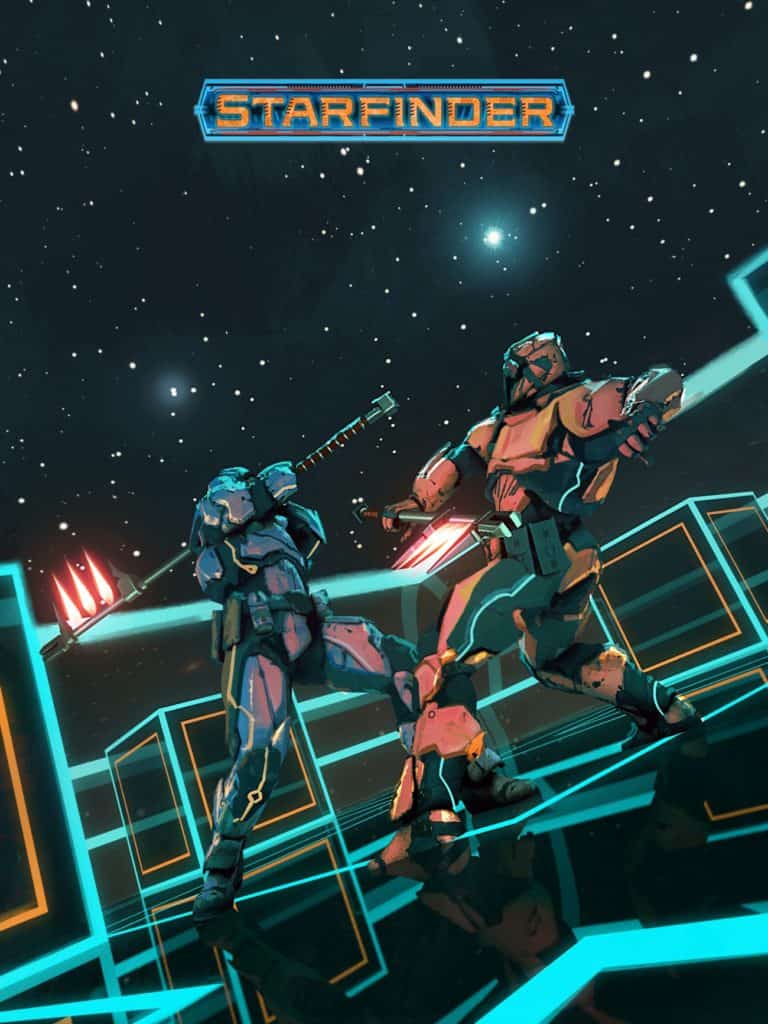
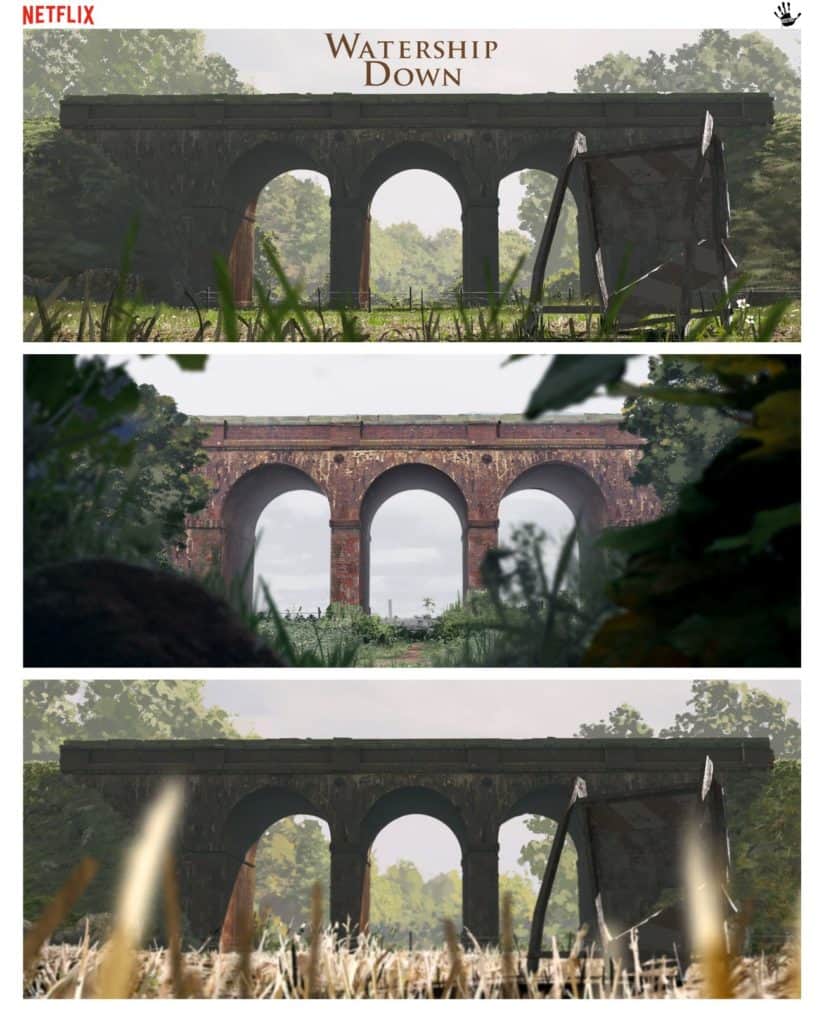
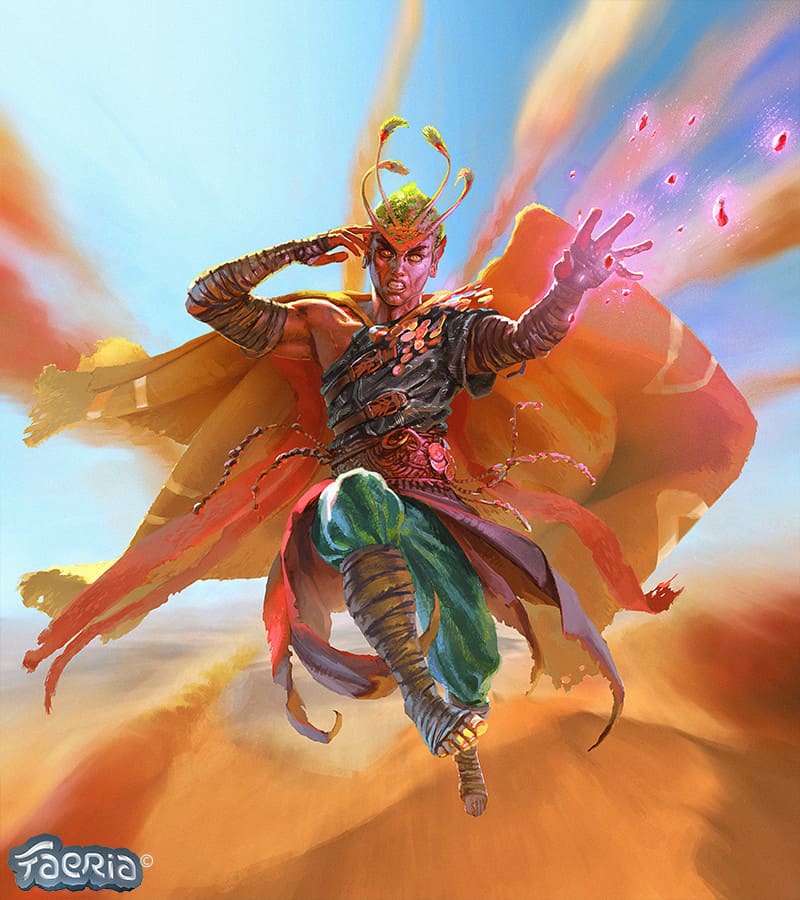
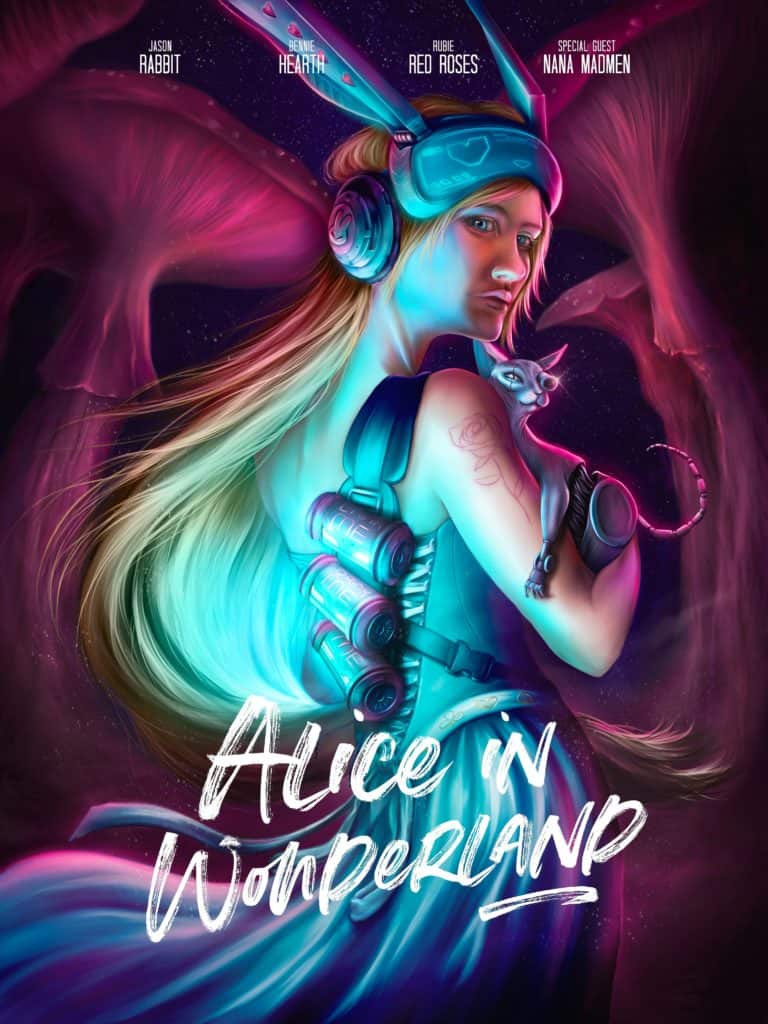
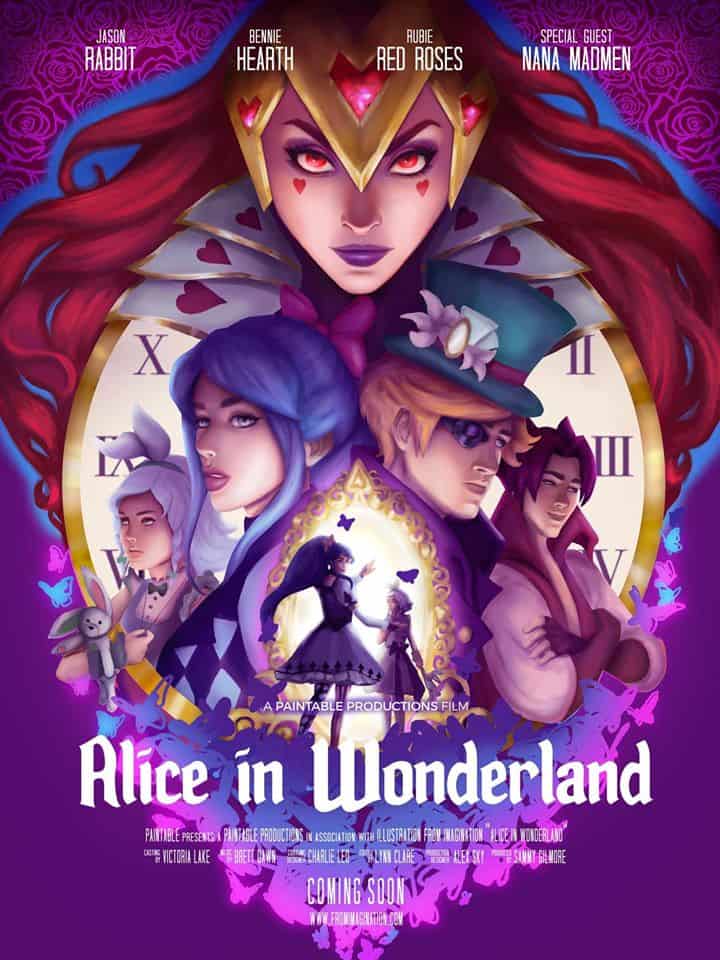
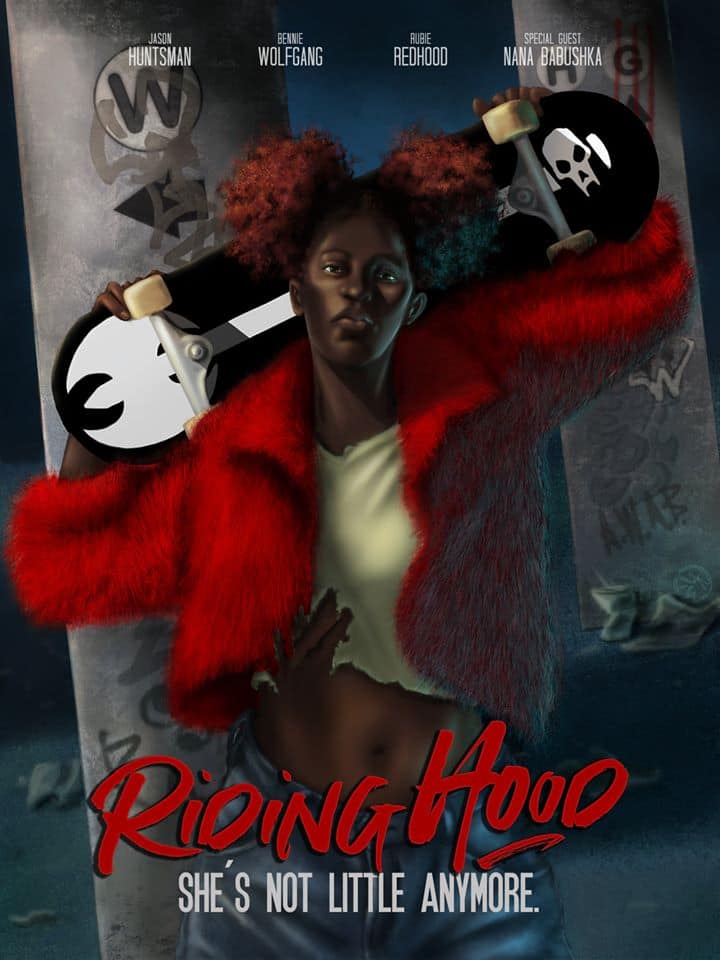
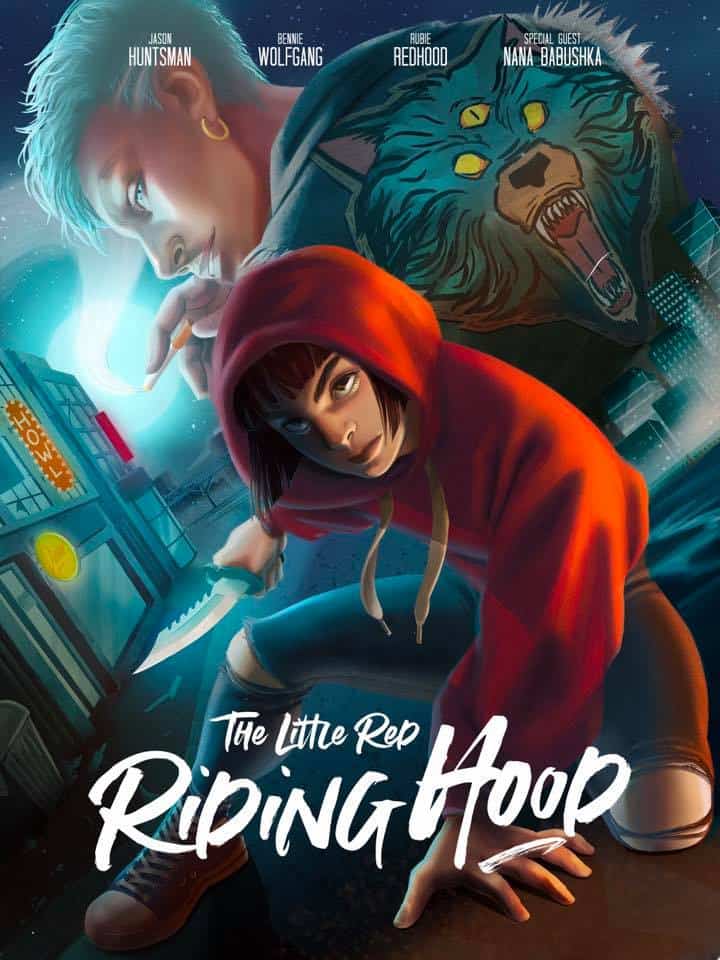
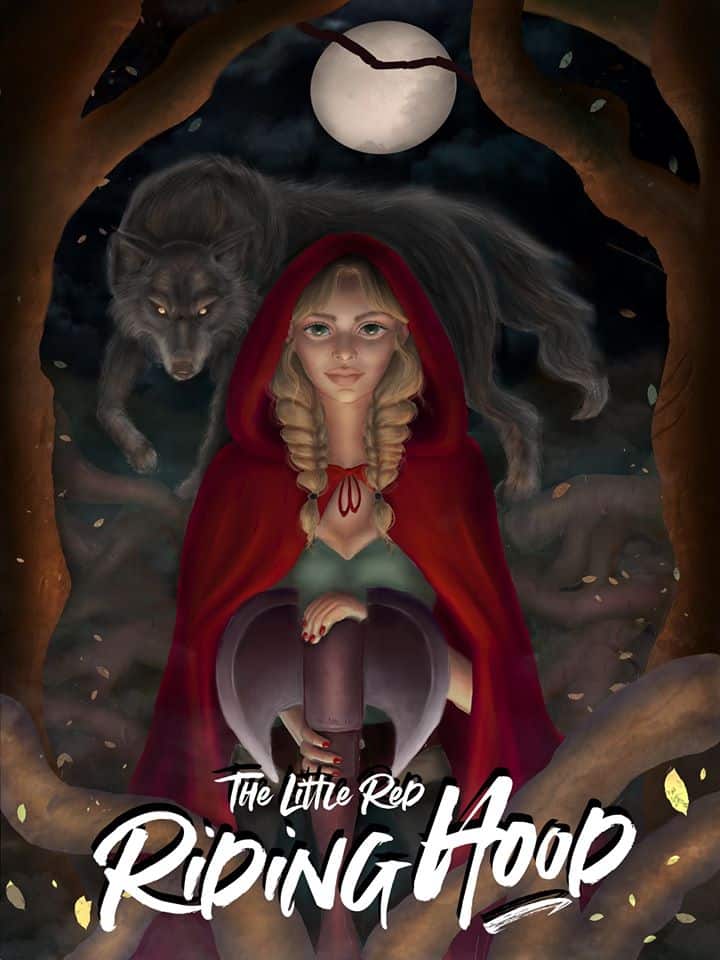
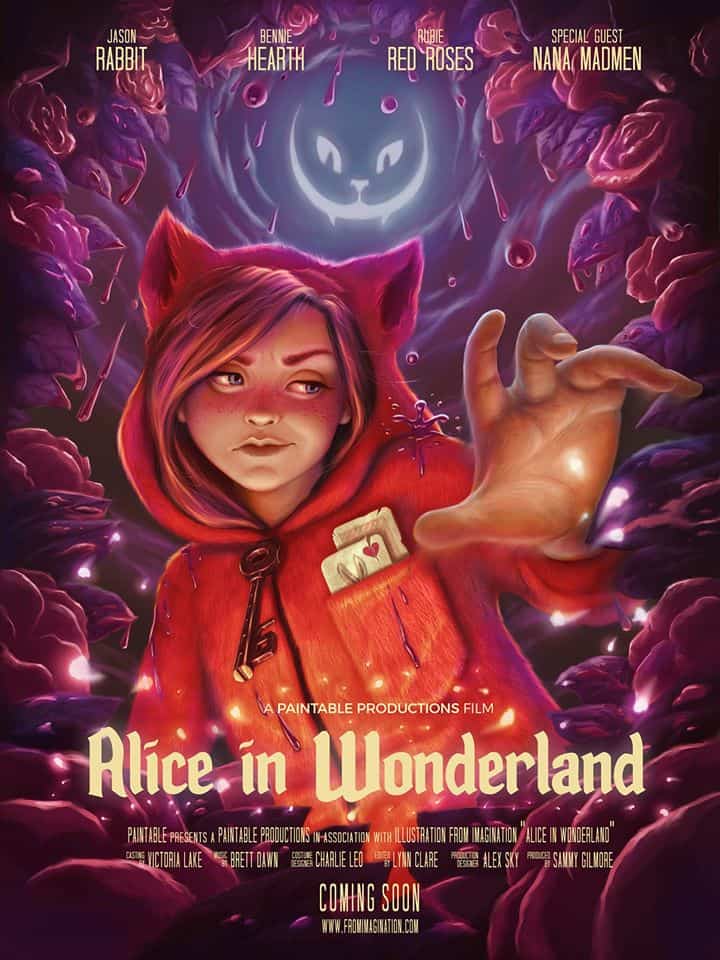
) and create a killer portfolio piece: a beautiful movie poster.

Our students have loved working alongside the IFI community, getting valuable feedback from their peers (and from me), and seeing each others’ progress and final artwork…

But it wouldn’t be fair to keep all of their stunning paintings to ourselves, would it? 😉

Scroll down for a sample of the incredible final artworks.

👉 Check out the full set of uploaded final masterpieces here.

Want to see more? Check out the whole graduating class of June 2020 here. 👇

And if you want to learn more about what it’s like to participate in Illustration From Imagination, or sign up for the next round, here’s all the info.

The post Stunning Student Masterpieces – Illustration From Imagination Class of June 2020 appeared first on Paintable.

Hairstyle-With-Style-logo.png

Painting Realistic Hairstyles: The Ultimate Guide

Cover image by David Belliveau

Creating a realistic, touchable-looking hairstyle to top off your digital portrait is absolutely within your reach!

Ever spent hours trying to get the hairstyle on your digital portrait to look realistic and touchable, but not knowing how to fix it? We’ve all been there! 
 

Learning to paint hair gets a lot easier (and faster) when you have a set of steps you can follow and practice. In this Ultimate Guide, I’ll walk you through the  process that I use to paint hairstyles on all of my digital portraits (except the bald ones 😁). 

After we’ve got hairstyles down, we’ll move into painting beards/stubble, eyebrows, and eyelashes. 

Follow along, and have fun!

Start with a Sketch of Your Hairstyle

Before we can begin painting our hairstyle, we need a sketch of it. And in order to create a sketch, we need an idea of what kind of hairstyle shapes we’re aiming for.

In this first video, I walk you through how to create your sketch, starting with finding a reference picture to inspire you, and then breaking down the shapes within the hairstyle.

(This video is part of the Sketching Hairstyles module within the Digital Painting Academy. That module is where I teach the 3 Pillars of a good haircut, which I mention in the first minute of this video.)

Here are the Pinterest boards I show in the video:
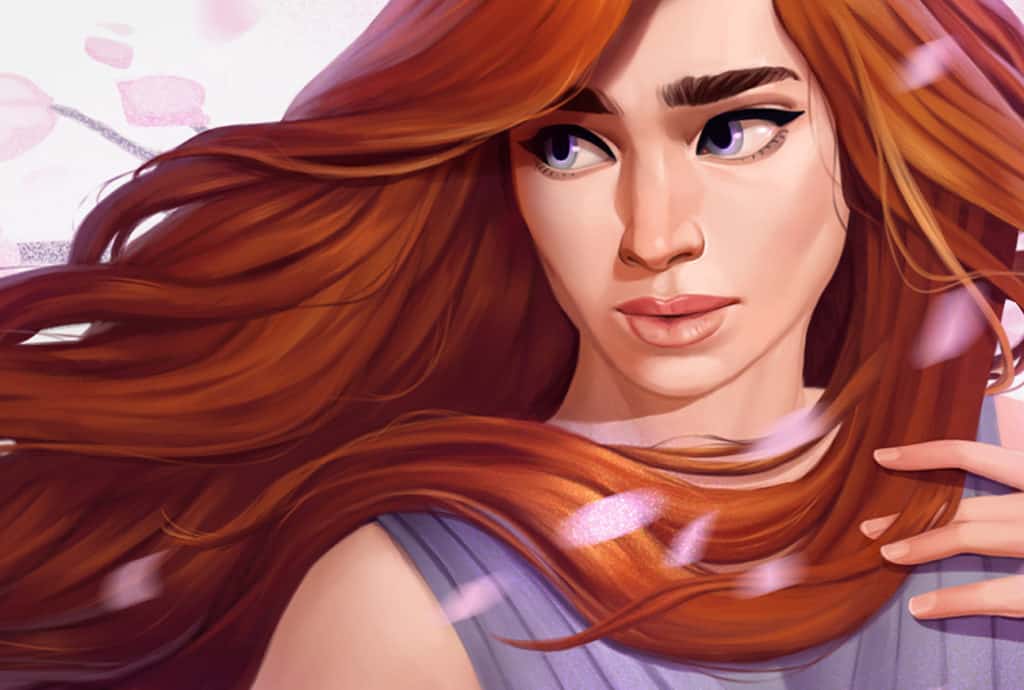
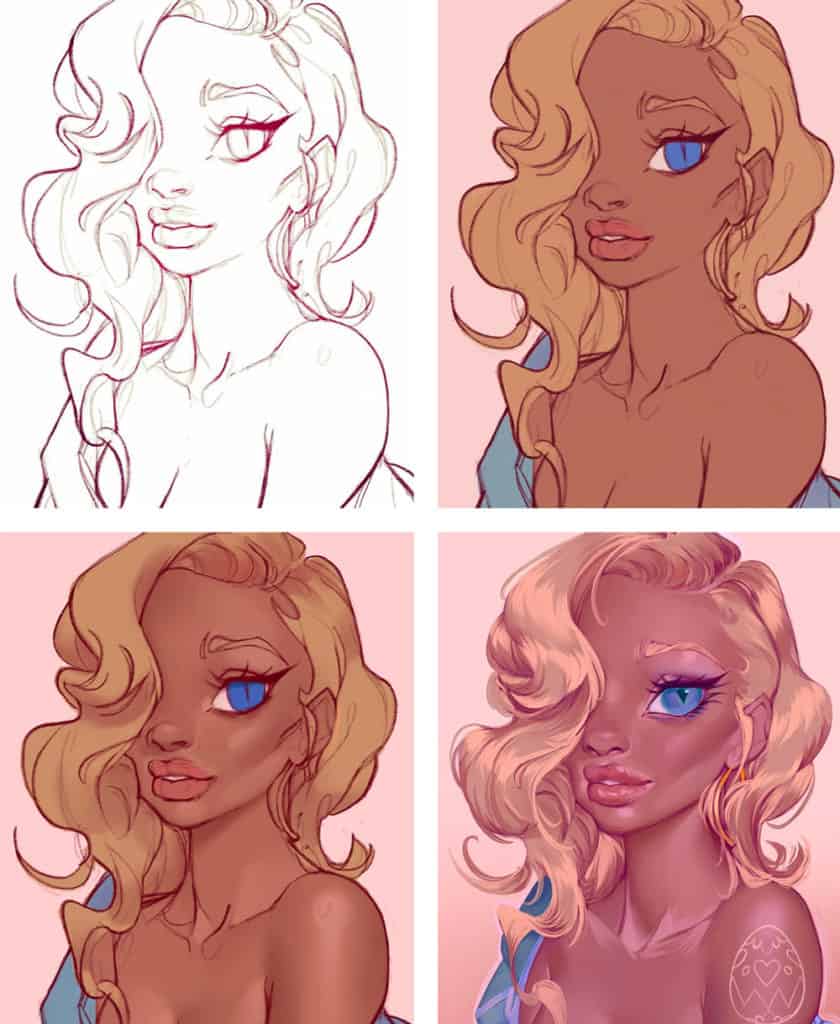
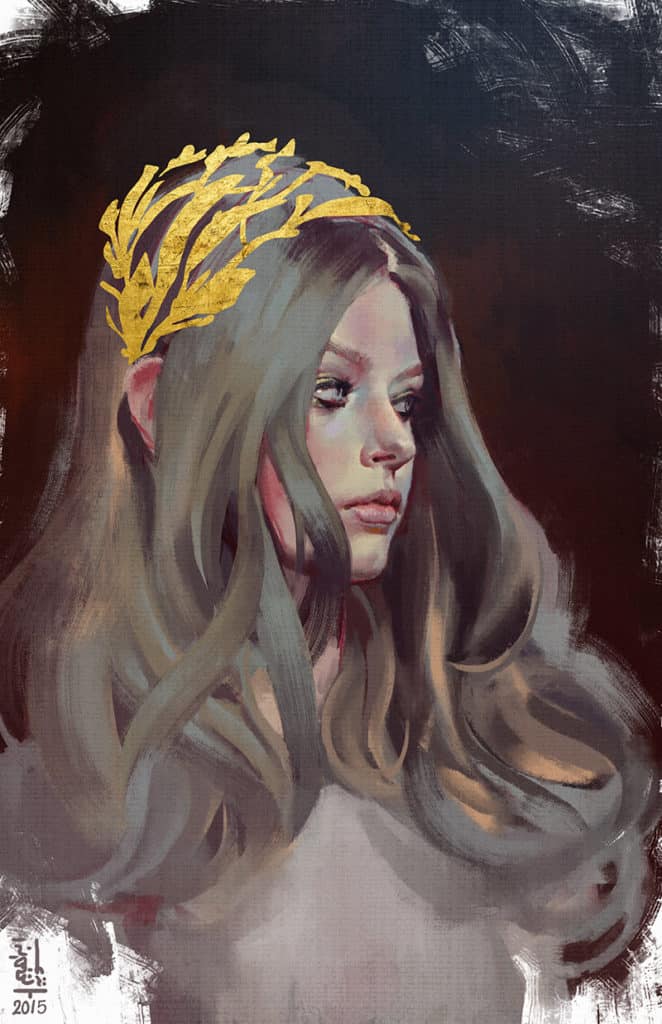
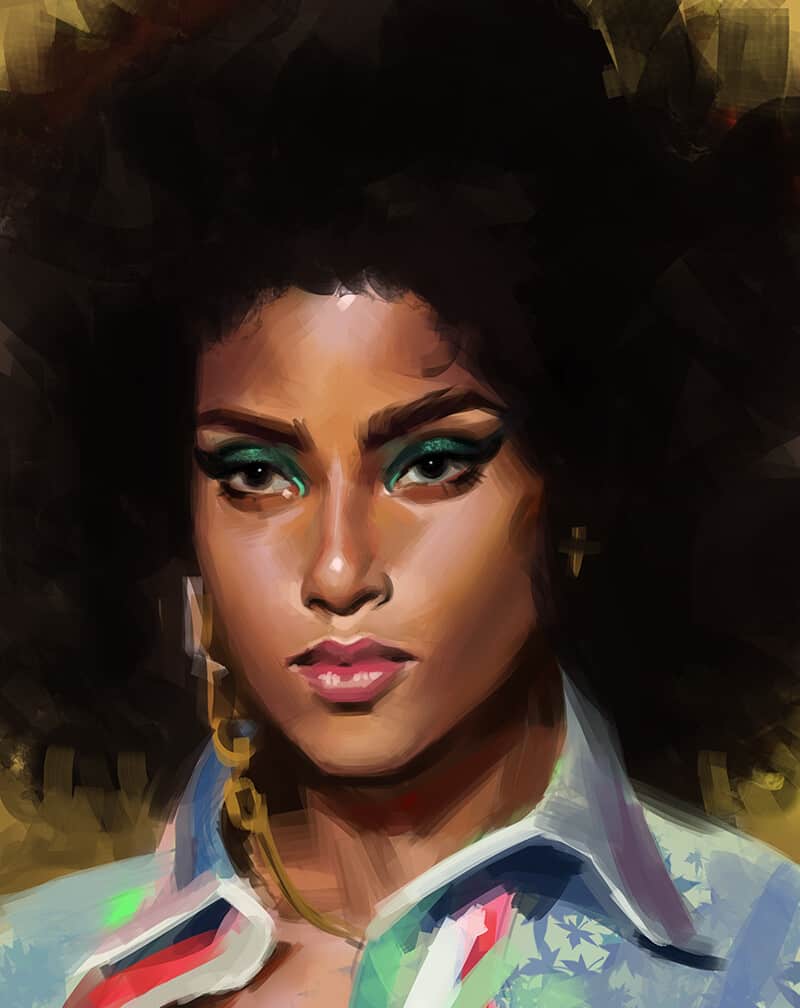
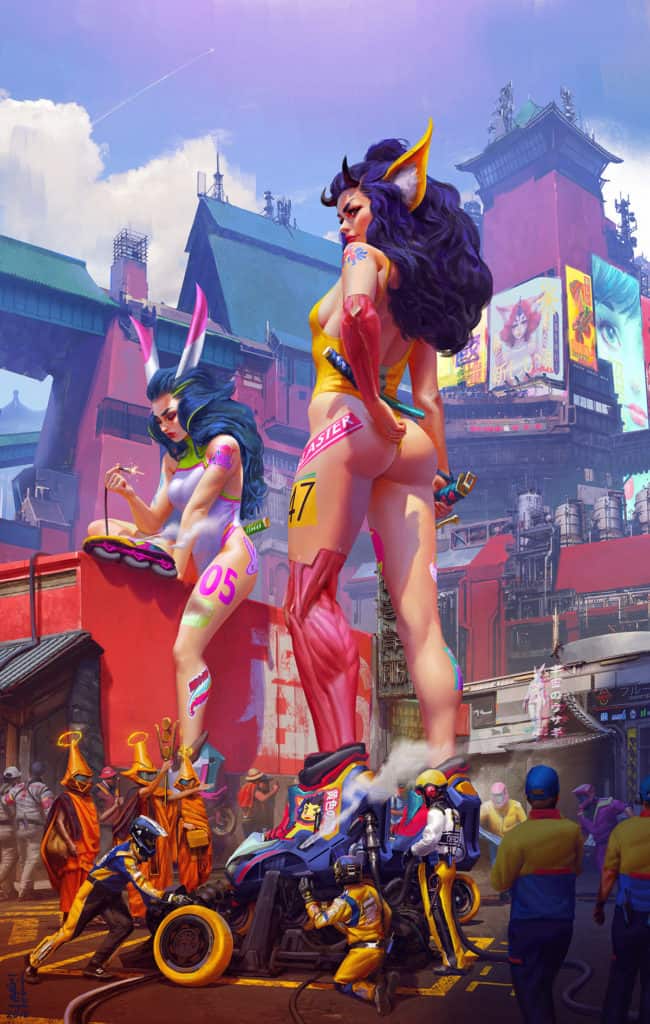
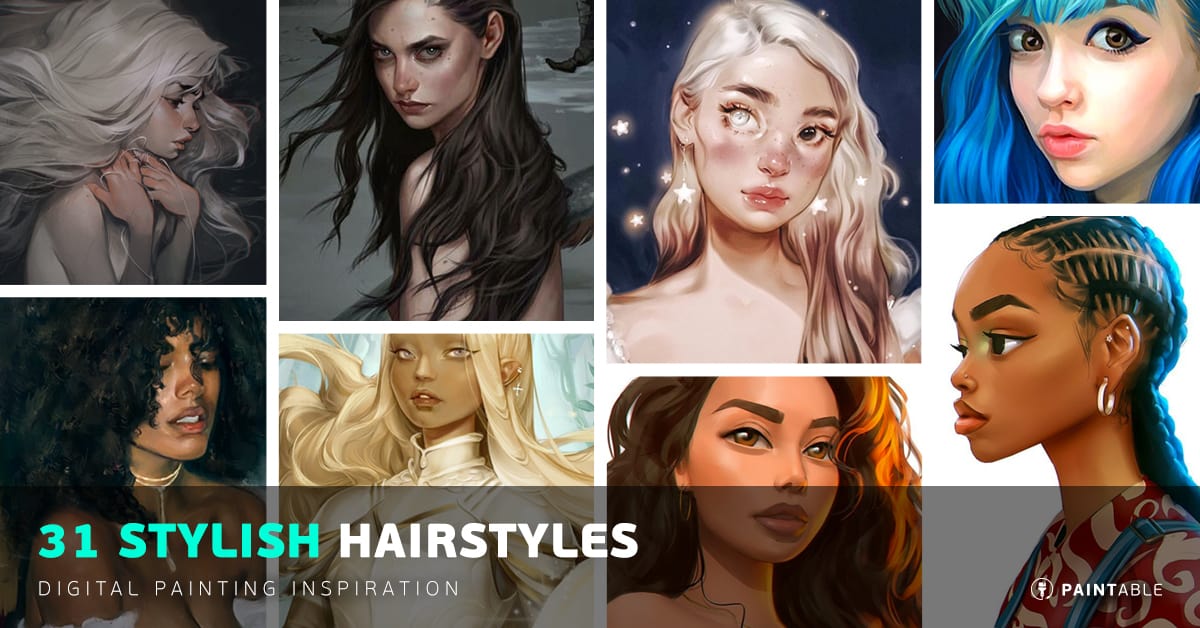
📌 Hairstyle With Style artworks
📌 Examples of hair blowing in the wind

👉 Want to skip the sketch of the head, and go straight to sketching the hairstyle? Try out the downloadable worksheets in this lesson.

Practice with Texture Brushes on a Lock of Hair

If you’re new to experimenting with texture brushes that can be used to create realistic locks of hair quickly, watch this video. 

You’ll see the different texture brushes I use, and how I use them with the mixer brush to blend colors and add details. Follow along, practicing on small locks of hair, and experimenting with different texture brushes to see which ones work best for your style.

After perfecting locks of hair, and getting used to different brushes and techniques, you can move on to your full hairstyle.

👉 You can download the brushes I use in the video for free here.

Render the Hair in Values

Once we have the basic shapes of the hairstyle defined in a sketch, we can begin rendering. For beginners, it’s often easier to learn to render using values  (grey-scale) before figuring out what colors will achieve the effect you’re looking for in your artwork.

Watch this video to get started rendering hair in values- the example here is a beard, but the techniques are applicable to hairstyles too. 

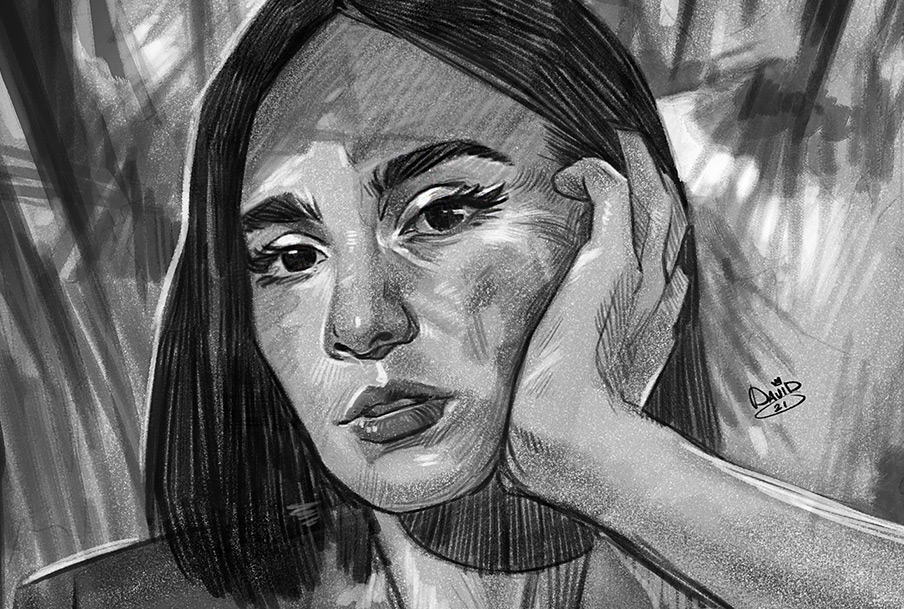
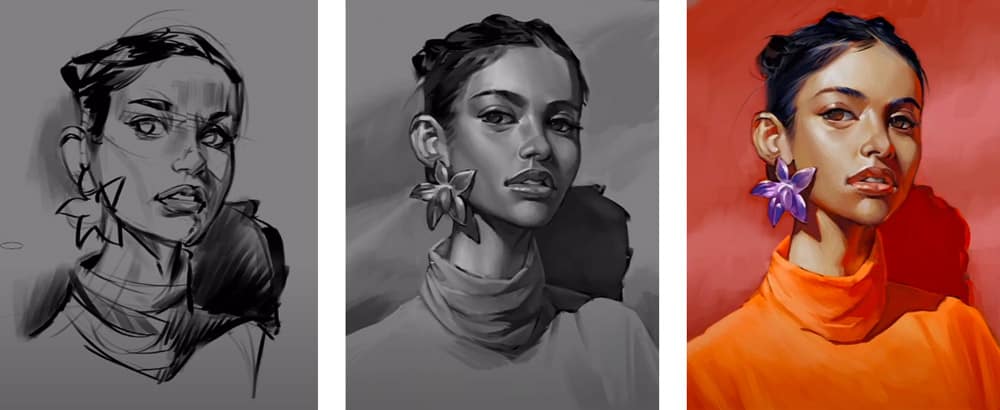
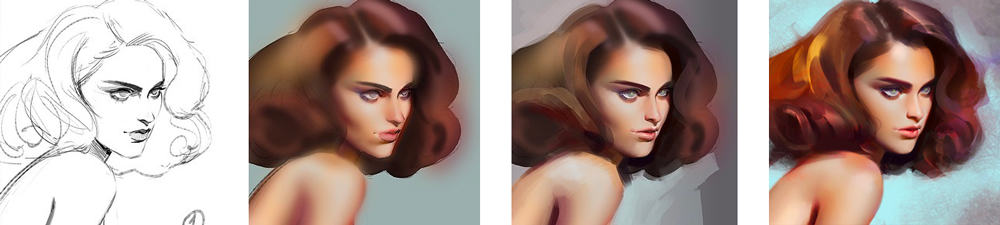
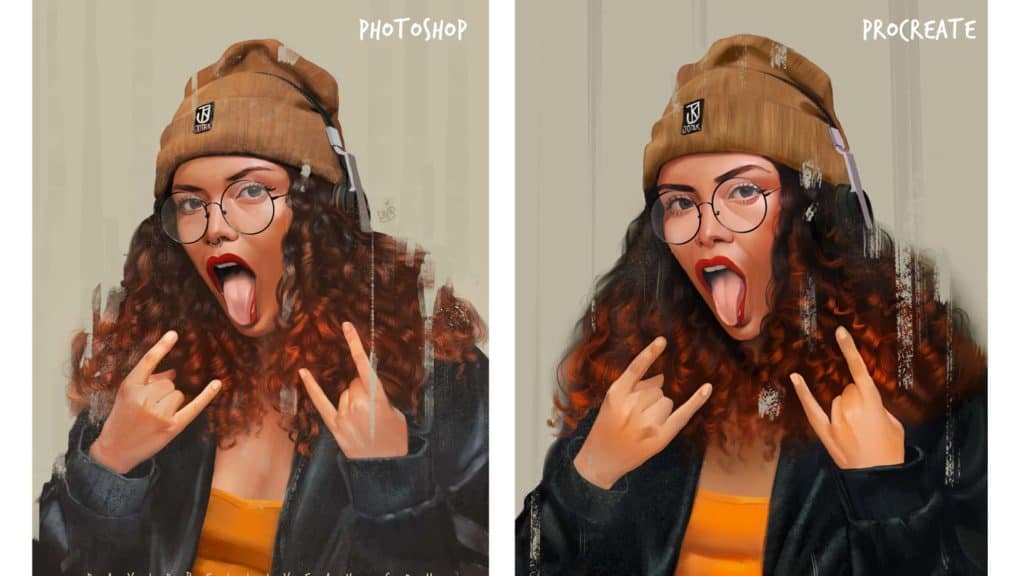
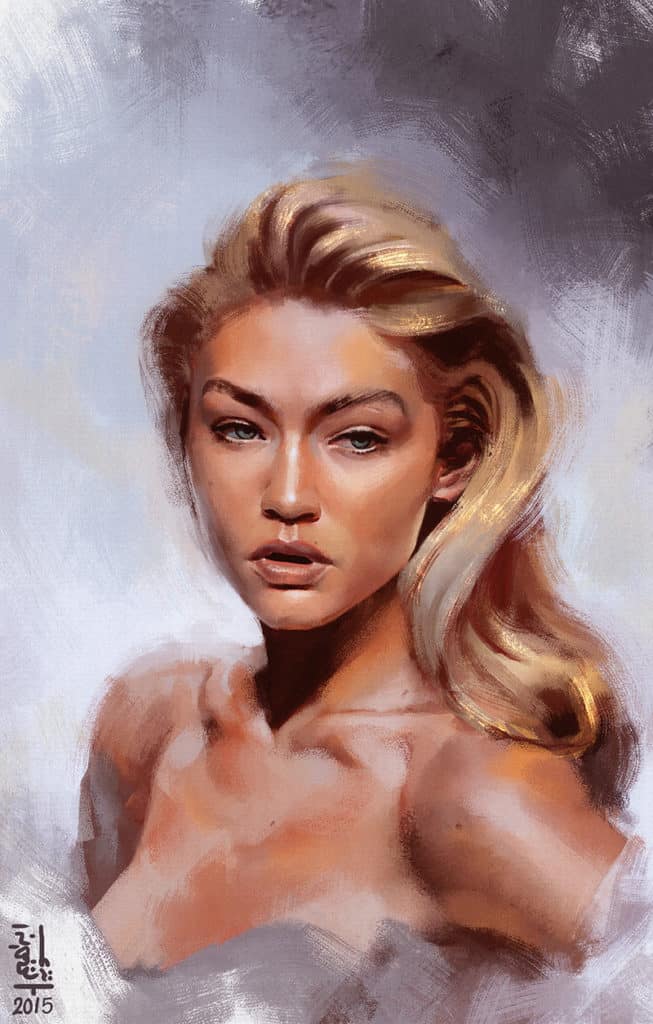
☝ This is an older video so bear with me here. 😁 The steps are still relevant and can help you up your value-rendering skills!

5 Steps to Perfect Hair From Imagination

Once you have a sketch of your hairstyle, and have practiced rendering locks of hair, it’s time to render your hairstyle in color- the key here is to add colors in layers.

This video walks you through how to create these layers, each one adding more depth and dimension to the hair:

  1. Start with a base of the darkest color.
  2. Design the shadows and light by adding the major areas that the light will hit the hair. We talk about the different tools to use in this step.
  3. Paint each lock of hair on the next layer, using a texture brush (examples given in the video).
  4. Add hue shifts to make the hair glow. I show you a few different hue shifts that you can experiment with- try a few to see what works best for the effect you’re after.
  5. Add details in just the right places using finer texture brushes and overlapping highlights. I give you some tips on how and where to do this to achieve the illusion that details are everywhere.

You can download the brushes that I use in this video for free here:

Beards, Eyebrows, and Eyelashes

Once you have some hairstyle painting basics down, you can move on to painting other types of hair. 

Stubble beards, 5 o’ clock shadows, eyebrows, and eyelashes are all similar to painting hairstyles, but take a slightly different technique and tool-set.

This video walks you through the steps to create a realistic stubble beard. Using the right brushes will make this really quick and easy- I show you which ones I use.

Creating eyebrows that don’t look “pasted on” was a bit mystifying until I discovered this technique to blend the skin into them properly. Take a look at this quick tutorial, and you may never paint brows the same way again!

And finally, eyelashes can make or break the eyes on your portrait. I used to just paint little lines for the lashes and wonder why they looked fake- there’s a super easy and quick way to improve the look of your lashes.

Watch this video to see how.

Great Examples of Beautiful Digitally Painted Hairstyles

You’ve covered a lot of ground in this Ultimate Guide to Painting Hair! Take it slow, focusing on improving just one step at a time, and you’ll be looking back at how far you’ve coming in no time!

For a bit of inspiration to help you set your own goals, check out these beautiful examples of creative hairstyles by amazing artists.

Keep practicing, and happy painting!

FREE CLASS + CHALLENGE

Learn To Paint Hairstyles With Style

Join the 7-day Challenge, get FREE access to 145+ minutes of masterclass video training on painting hair, and learn to paint your best hairstyle EVER!

Claim Your Free Spot!

The post Painting Realistic Hairstyles: The Ultimate Guide appeared first on Paintable.

Sarah-Tepes-steps-min.jpg

5 Professional Artists Who Killed It With One Week Portrait

Our One Week Portrait Challenge attracts artists from the world over, from beginners who have just bought their first graphics tablet to professional artists looking to exercise their creativity.

In our first Challenge of 2020, over 17,000 artists made the commitment to pick up their styluses, boot up their painting program of choice, and paint every day for five days! 😍

Today, we’re giving some love to five of the awesome pro artists who completed the One Week Portrait Challenge to give you a big dose of encouragement and inspiration! 

Sara Tepes

Sara Tepes is a college student originally from Romania, and her paintings are mind-blowing. 🤯 
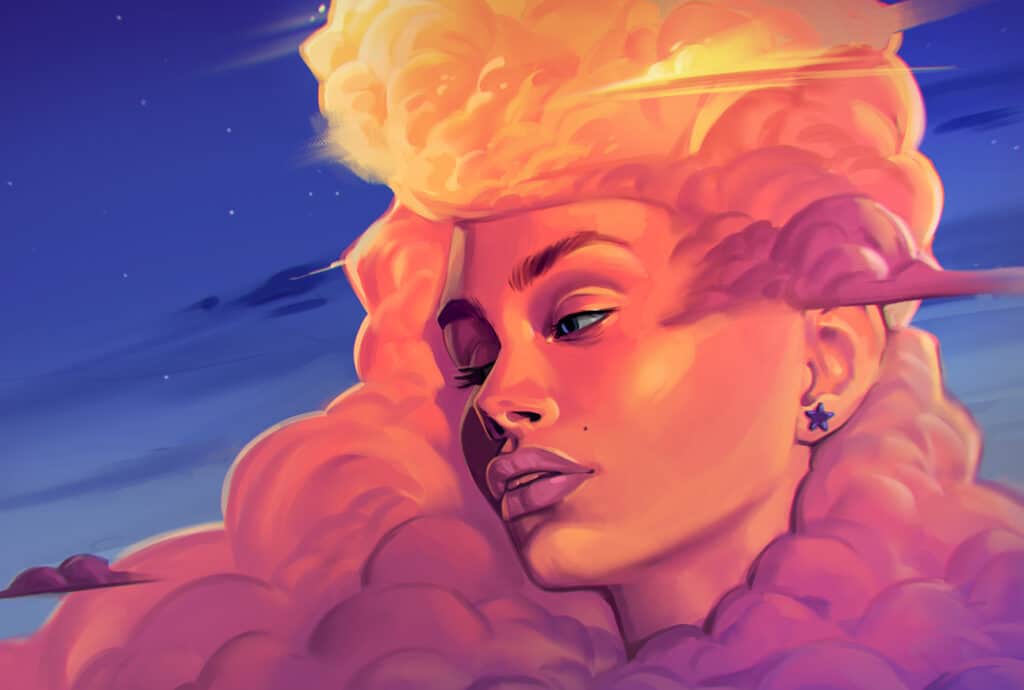
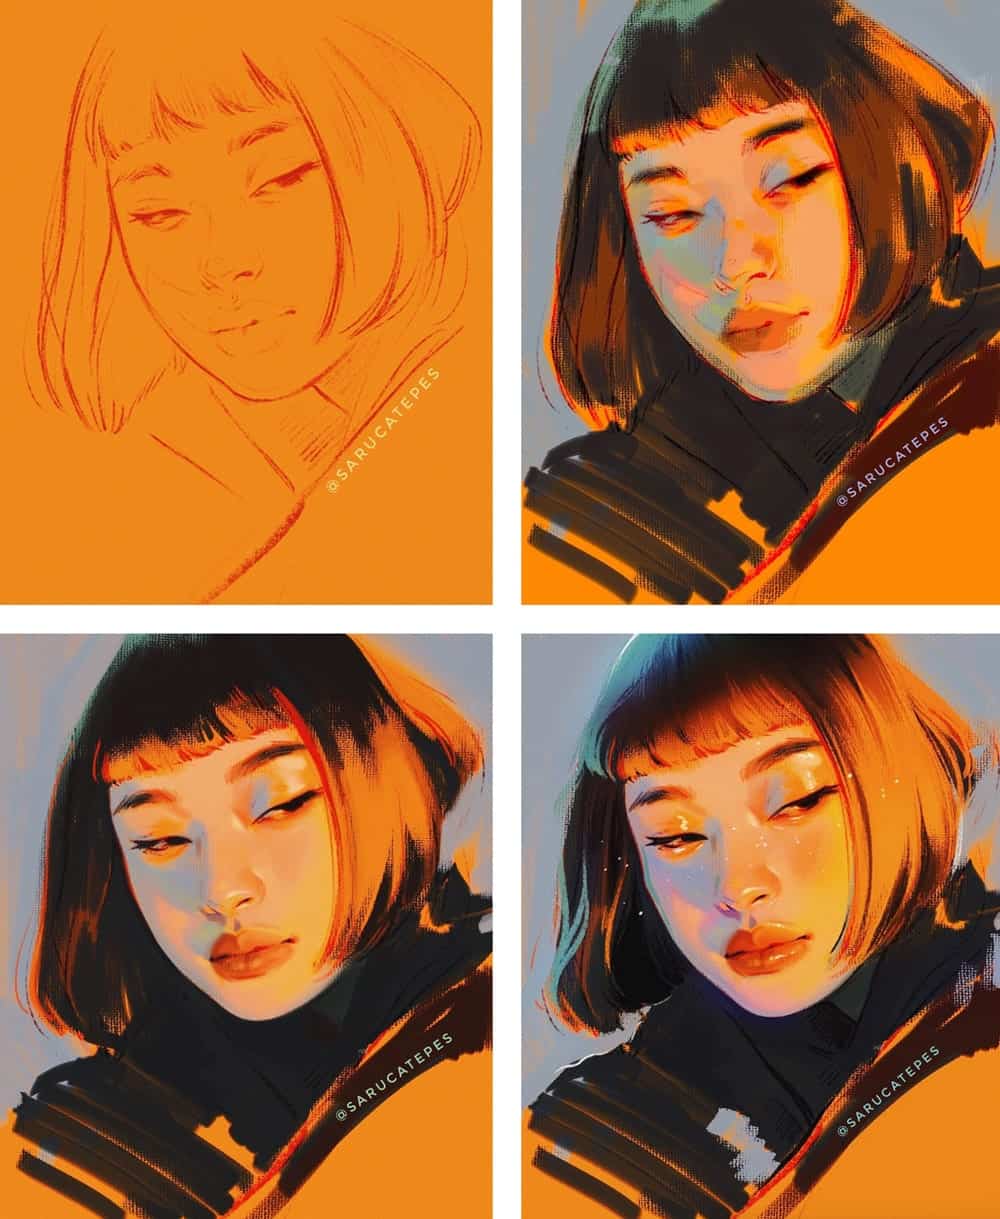
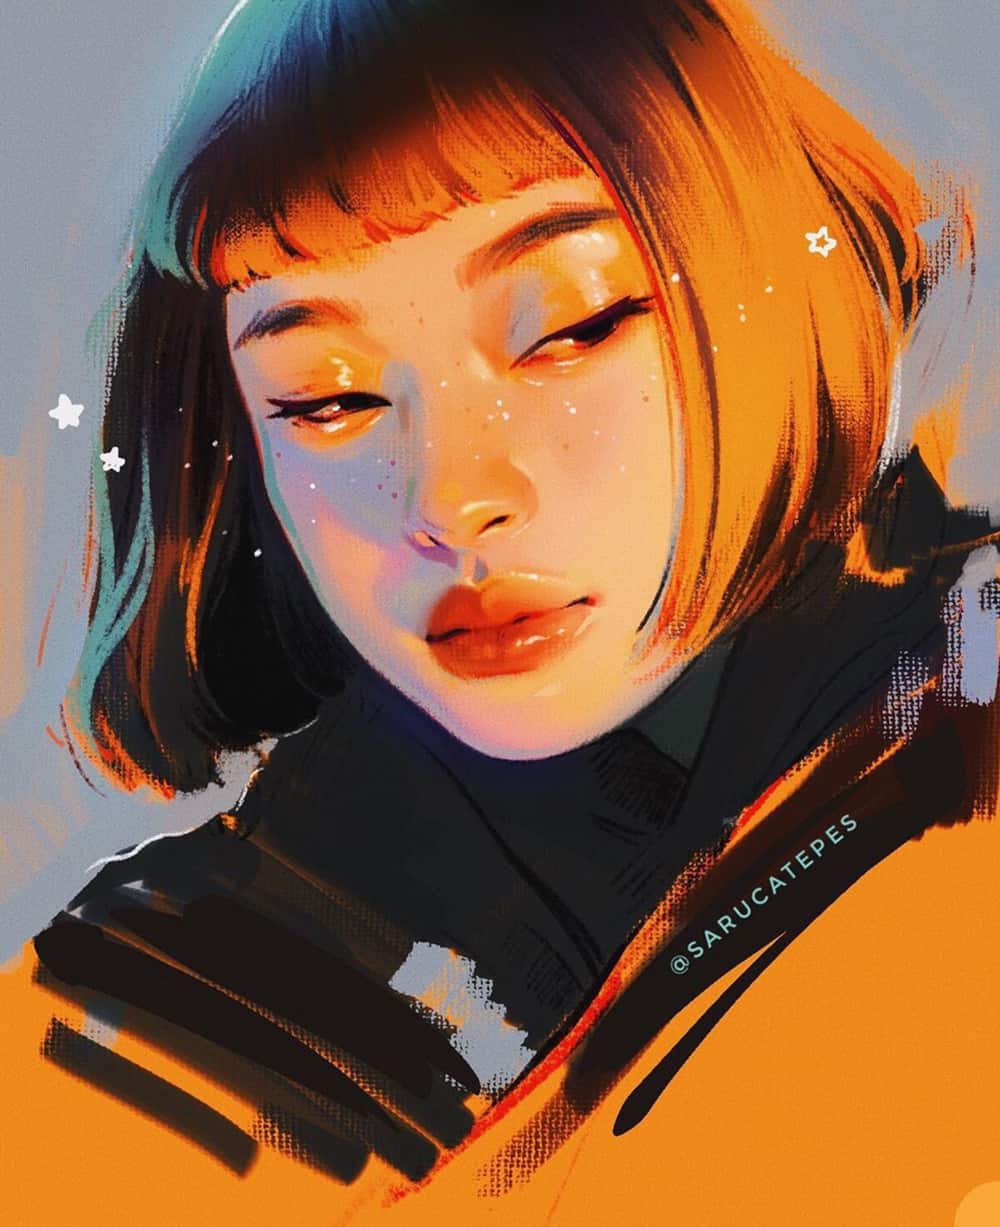
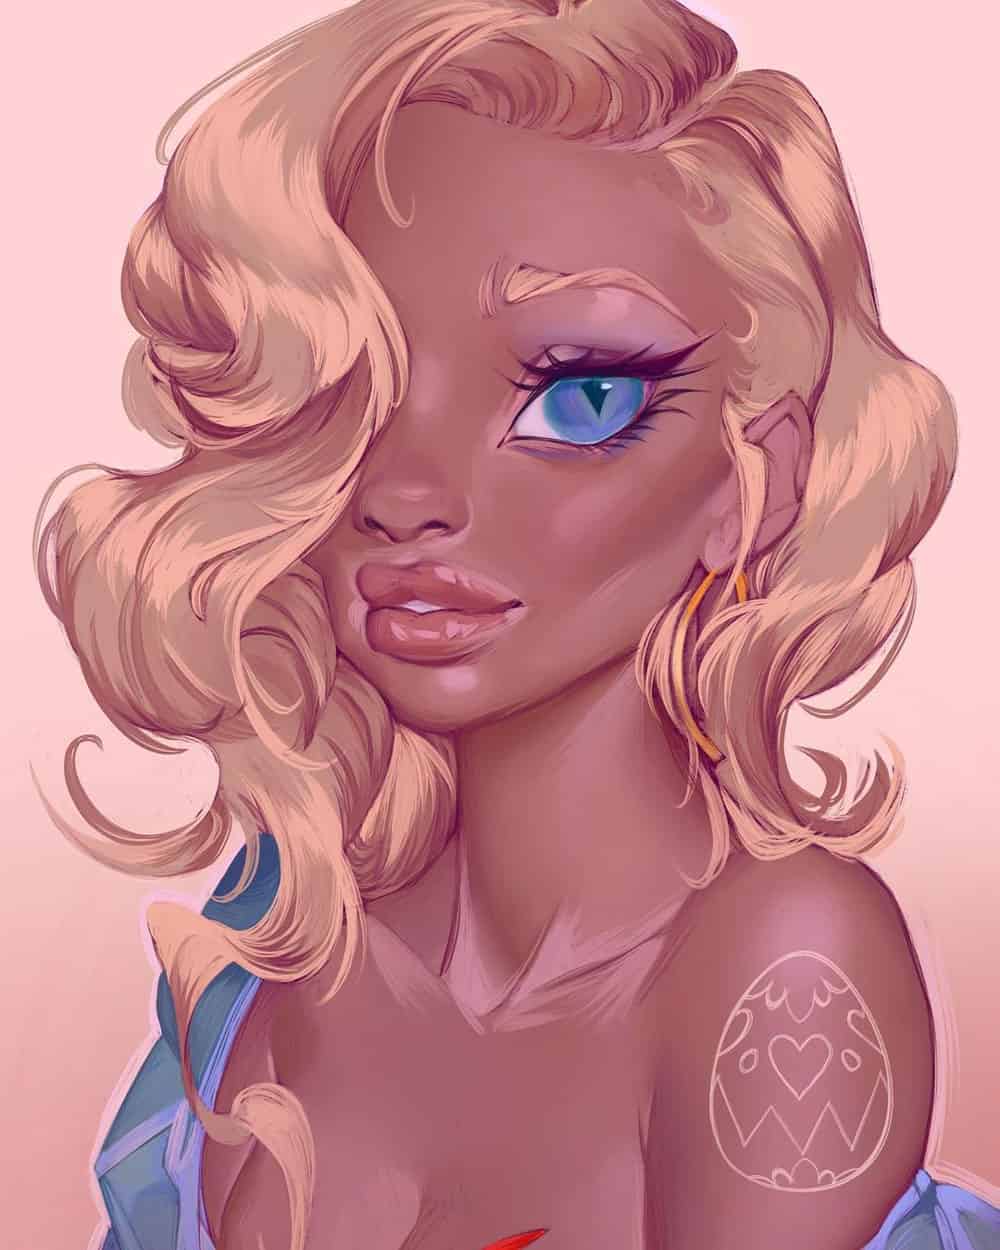
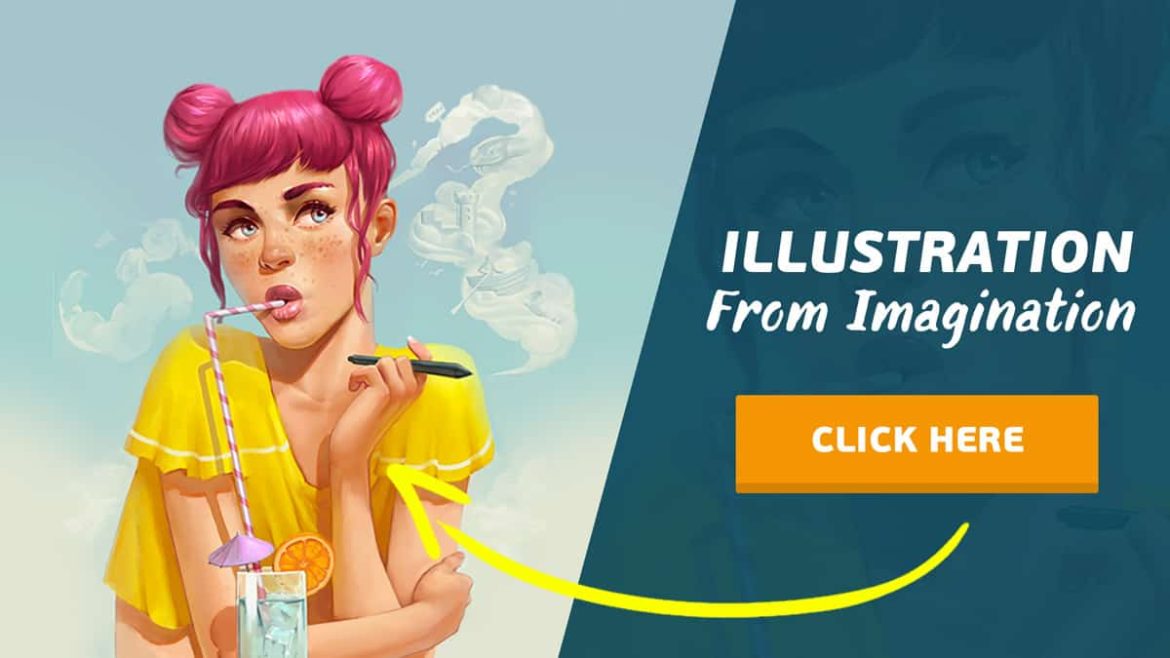
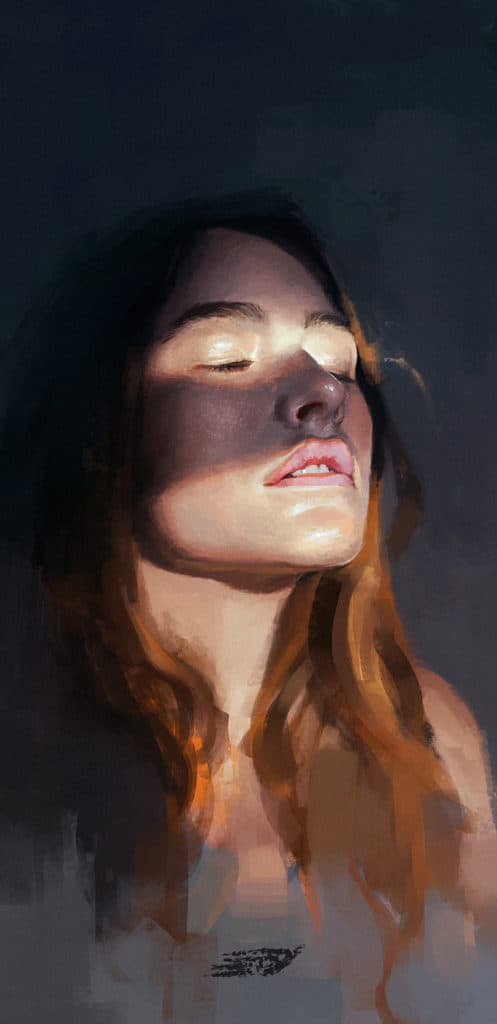
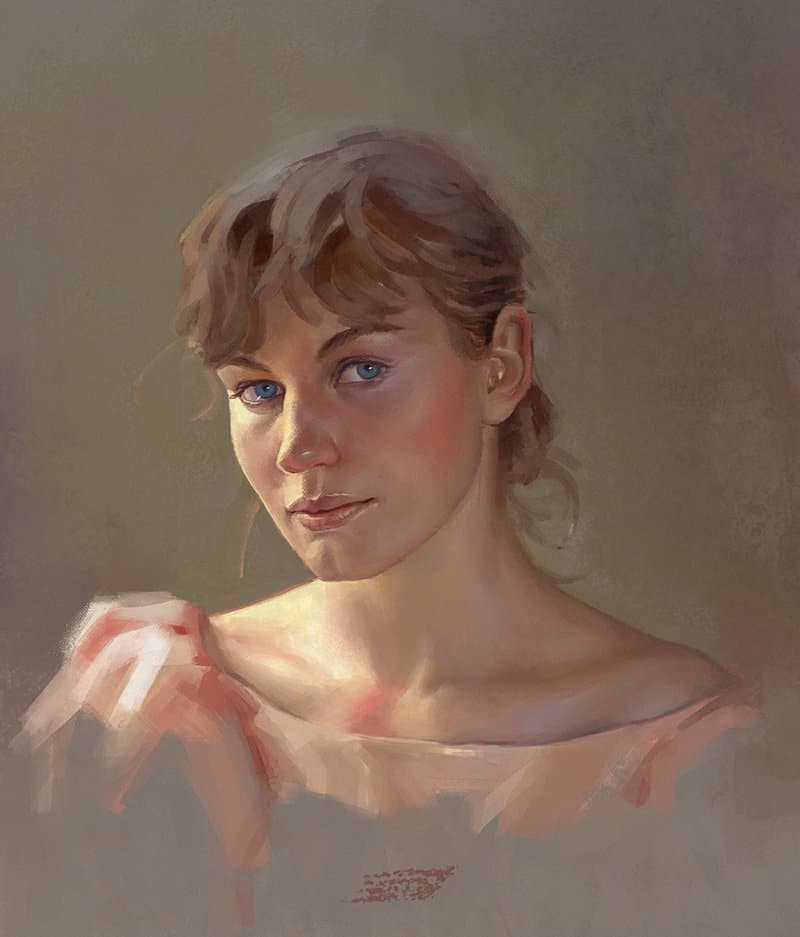
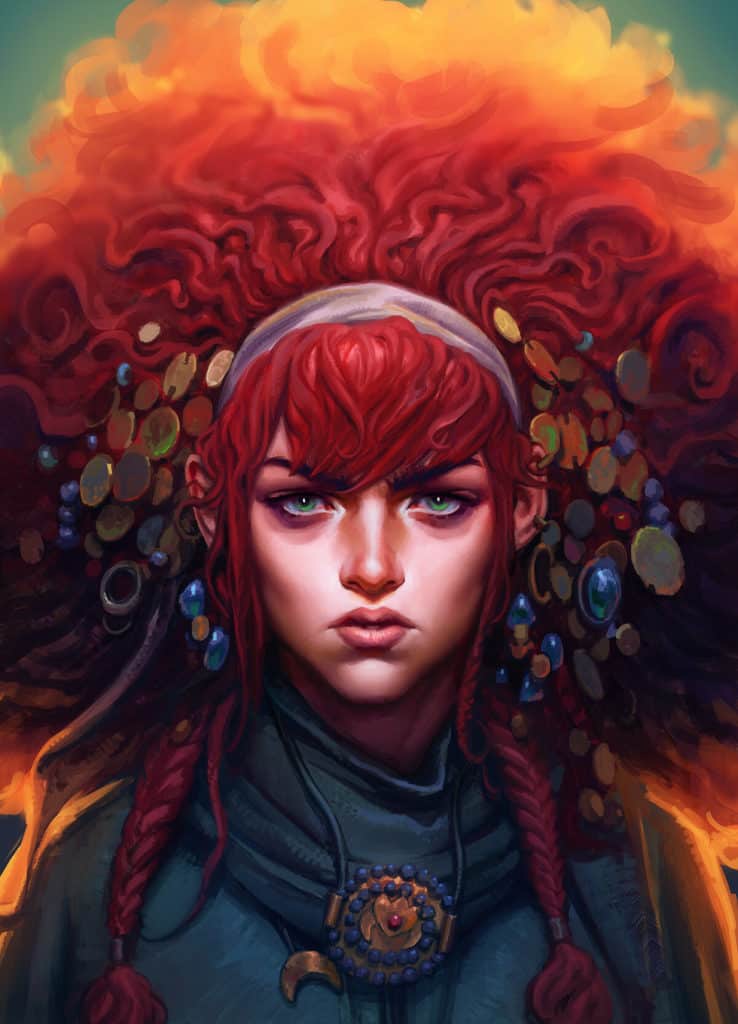
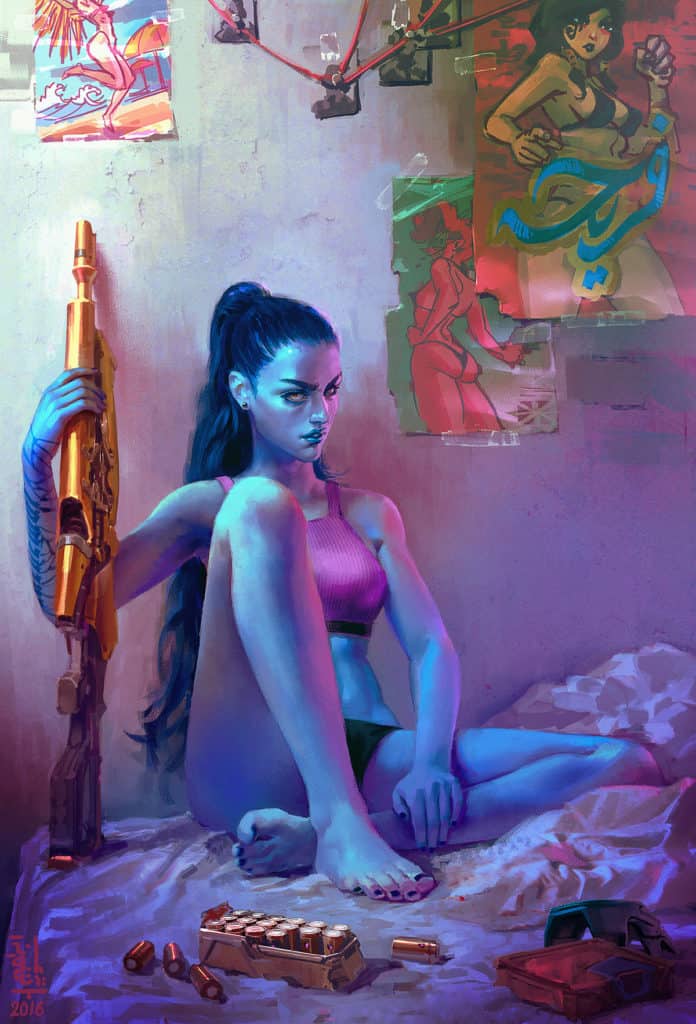
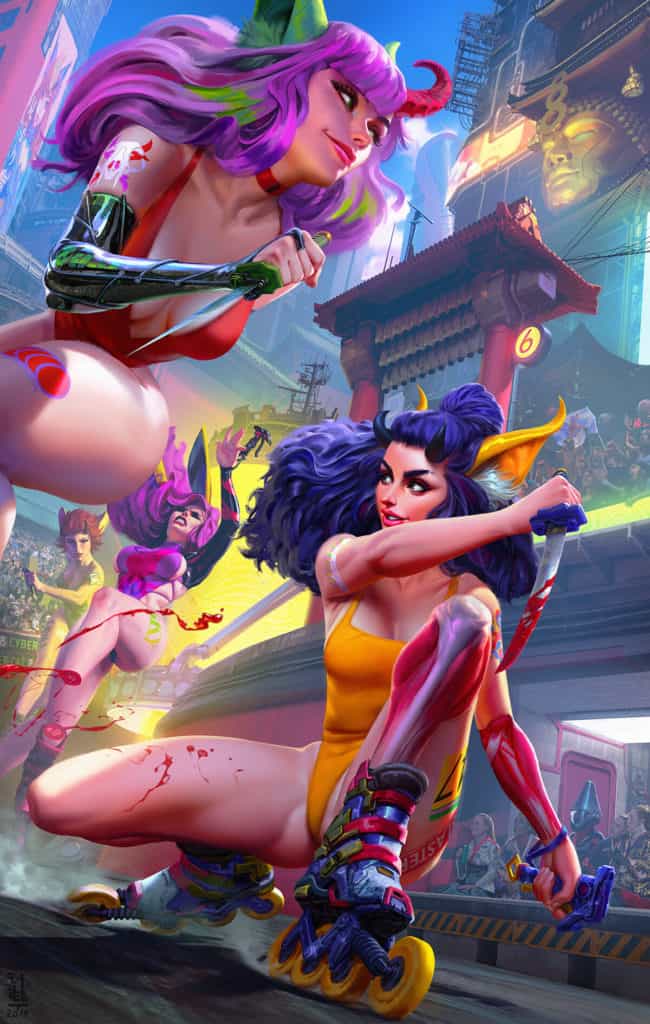
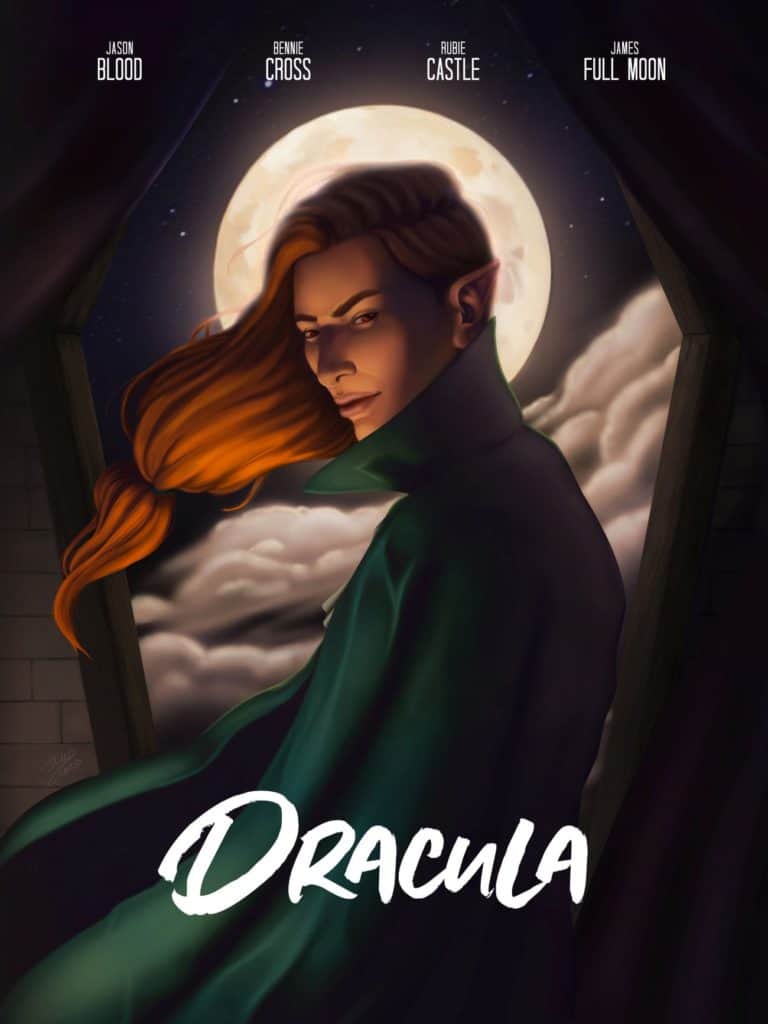
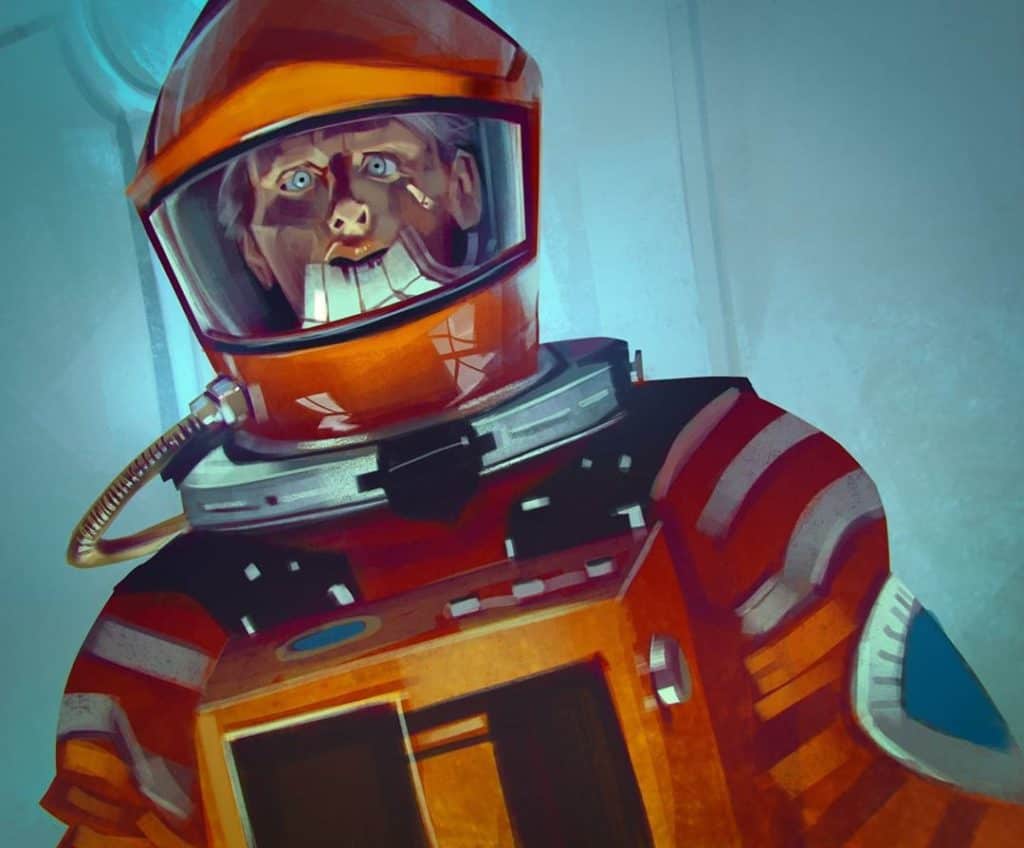
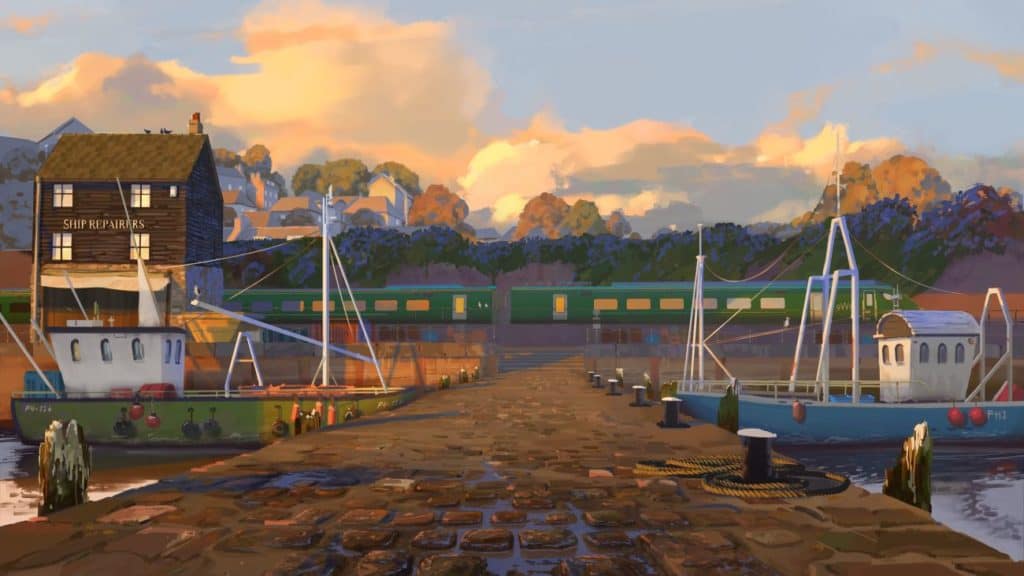
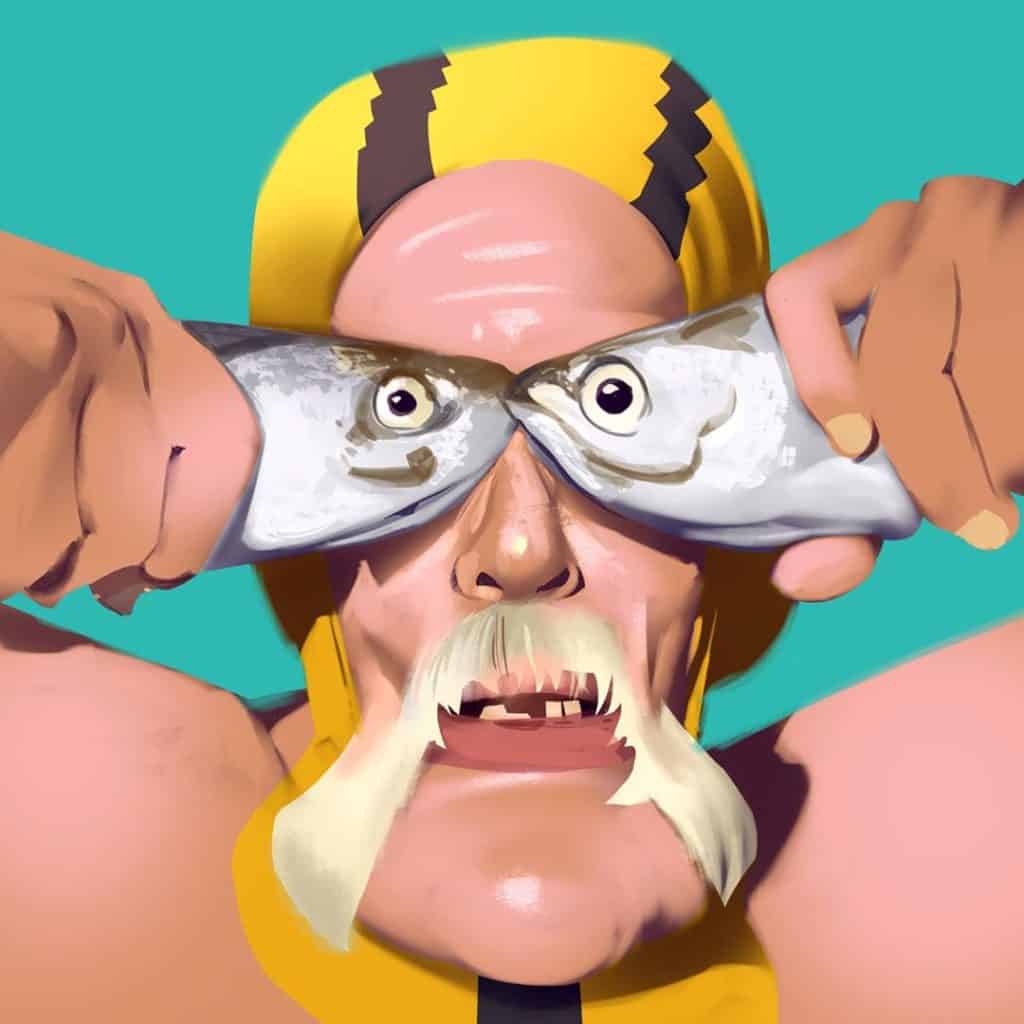
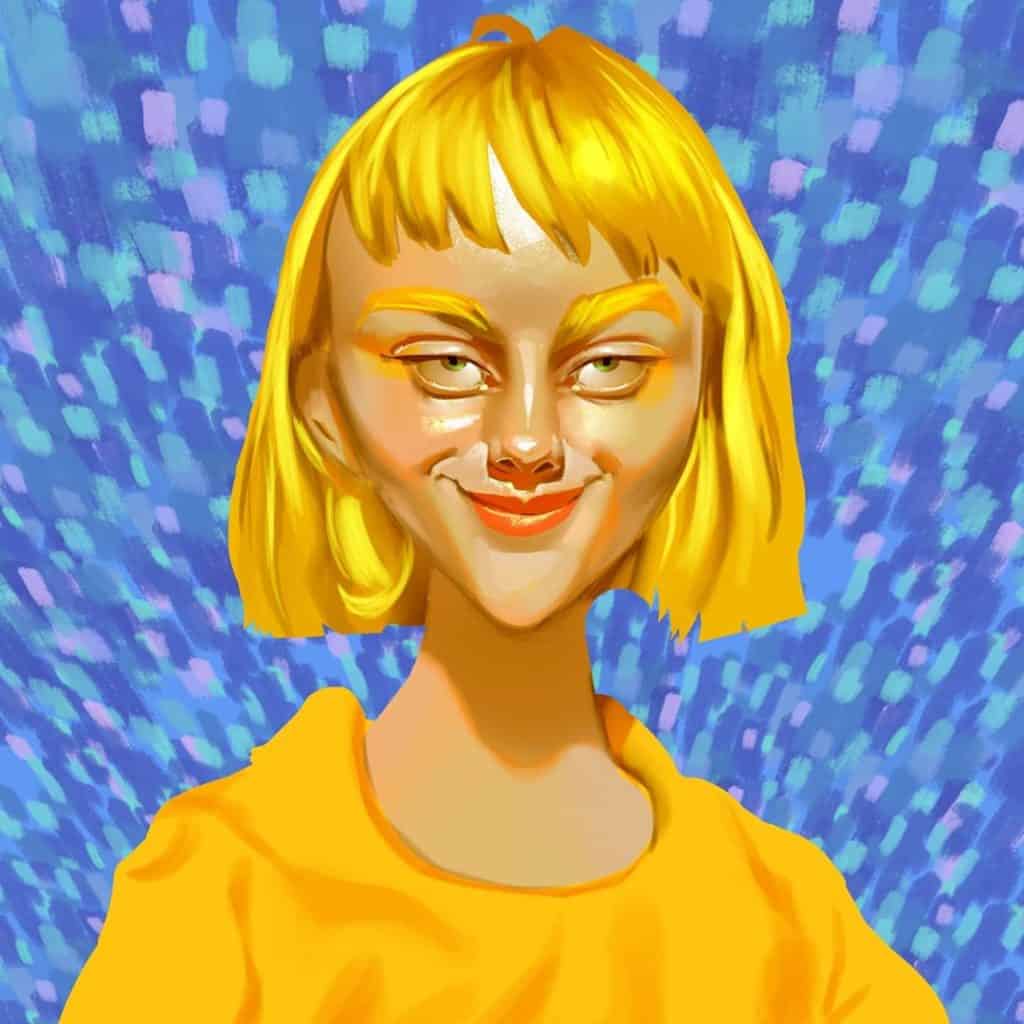
Sara loves everything peach-flavored, and you can even see this in her incredible art, which often uses gorgeous warm orange and yellow tones.

For One Week Portrait, she recreated a reference in her signature style, and it practically jumps off the page!


The incredible Sara Tepes – Click to see her timelapse of this OWP painting!

Follow Sara on Instagram and support her over on Patreon for discounts on her prints, an exclusive behind-the-scenes look at her painting process, and more! 🖌

Mel Milton


The talented Mel Milton – Catch his video on this OWP portrait on his YouTube channel

Mel Milton is a self-taught professional digital painter and author of two digital painting books, where he shares his art, or “dooks”, as he calls them.

Mel is a truly intuitive painter. Rather than sticking to a set process each and every time, he mixes it up depending on how he feels. For One Week Portrait, Mel painted this beautiful portrait in grayscale first to get down the tones before adding color, and the final result really pops! 💥

You can follow Mel on Instagram, support him by buying a print of his work or his in-demand dook volumes from his online shop, or subscribe to his YouTube channel, where Mel shares speed painting videos along with commentary on his painting process! 🎤

Tricia Loren


The expressive Tricia Loren

Tricia Loren is an inspirational painter who’s very easy to relate to. Like many of us, Tricia sees painting as an escape and a way to express herself. And she’s entirely self-taught!

Tricia’s use of pastel colors adds a whimsical, magical quality to her art,  and she’s a perfect example of how dedication and persistence are all you need — not an artistic background and a diploma from art school! 🎨

Support Tricia by buying a print or following her on Instagram, where you can find works in progress, finished pieces, commissions, and a whole lot more! ✨

Ibrahem Swaid


The charismatic Ibrahem Swaid

Dubai-based freelance concept artist and illustrator Ibrahem Swaid has a portfolio packed full of dynamic portraits and charismatic characters, and his One Week Portrait project is no exception!

After picking his reference, Ibrahem followed the One Week Portrait process to create the perfect line art before picking his colors and adding his signature stylized flourishes. The finished result is a captivating portrait.

Follow Ibrahem on Instagram, shop stickers, prints, and books, and subscribe to his Twitch channel for time-lapses, live painting sessions, and commentary! 😍

Sammy Khalid


The very productive Sammy Khalid (aka @Chigg)

Our final pro participant of the One Week Portrait Challenge is Sammy Khalid, a professional concept artist and sci-fi and fantasy illustrator from in Ireland.

His career spans film, gaming, and advertising, and Sammy boasts an impressive resume that includes Black Mirror and Room. 😲

You can follow Sammy on Instagram, where he shares a new painting every single day, as well as support him on Patreon and get your favorite piece of art printed on a canvas, tote bag, laptop sleeve, and more at his shop! 🖼

During One Week Portrait, Sammy painted not just one or two but five incredible caricatures. You can really see how his use of color in the early stages lay the foundation for an incredible finished piece.

Who are your favorites?

Check out the profiles of these amazing professional artists, follow them for an abundance of artistic inspiration, and don’t forget to support them too. Even if it’s a like or a comment, a little bit of love goes a long way. ❤

Happy Painting!

10 ‘MUST HAVE’ BRUSHES FOR PAINTING

Free Download:

Designed to Paint Incredible Portrait Details!

The post 5 Professional Artists Who Killed It With One Week Portrait appeared first on Paintable.

compare-2-iilustration_v2-1024x576.jpg

Photoshop vs Procreate for Digital Painting

Itching to know what it’s like to switch from a Wacom tablet with Photoshop to an iPad Pro with Procreate?

I’m shaking things up in a big way today! 

In all of my tutorials and course modules so far, I’ve been teaching you using Photoshop on a Wacom tablet with a MacBook.  I’ve been dying to try out Procreate on an iPad Pro, so I can give you tips and tricks using those tools.  And today, I’m bringing you along as I get started!

In this video, I unbox my new 12.9 inch iPad Pro, and give you my first impression of the Procreate app. 

While working on the same illustration using the same process on both setups, I give you my thoughts on:

  • What it’s like to work on an iPad after years of using a Wacom tablet and MacBook.
  • What are the big differences between the 2 hardware setups
  • Comparing the feel of the Wacom pen vs the Apple pen
  • The plusses and minuses I’ve experienced using Photoshop vs Procreate 
  • The biggest difficulties I’ve seen as a professional artist working on the iPad
  • Is the Procreate app powerful enough for professional work as an illustrator?

Photoshop vs Procreate - Digital Painting - Paintable

Let’s get into it!

If you’re getting started with Procreate, rather than starting with a portrait like I did, I recommend starting with a smaller illustration like in the Ultimate Beginners Guide here

And if you’d like to set up your workspace like mine, here’s what I’m using:

I’d love to hear your first impressions of Procreate!  What did you find most difficult to get used to, and what are your favorite tips for using it?  Put it in the comments below!

I’ve also prepared a gift for you – here it is:

10 ‘MUST HAVE’ BRUSHES FOR PAINTING

Free Download:

Designed to Paint Incredible Portrait Details!

The post Photoshop vs Procreate for Digital Painting appeared first on Paintable.

AD_025_FromImagination_2.jpg

How to Paint Anything: The ULTIMATE Guide to Rendering

Painting from imagination can be tough… where are you meant to put the highlights? And what about the shadows?

The key is understanding how different types of light work.

Luckily, there’s an 8-step “recipe” to painting light from imagination – which I cover in-depth in my program, Illustration From Imagination. And today, I wanted to give you a sneak-peak of one of these lessons!

Today’s lesson is a COMPLETE walkthrough of my rendering process, in which I show you:

  • How to break complex shapes down so you can paint even the most difficult objects,
  • How to add different light sources completely from imagination,
  • Exactly where to place the most important highlights, shadows, and details in every painting,

And much more:

You can download the exercise files mentioned in the video for both Photoshop and other tools right here.  Enjoy!

10 ‘MUST HAVE’ BRUSHES FOR PAINTING

Free Download:

Designed to Paint Incredible Portrait Details!

The post How to Paint Anything: The ULTIMATE Guide to Rendering appeared first on Paintable.